Our recent articles
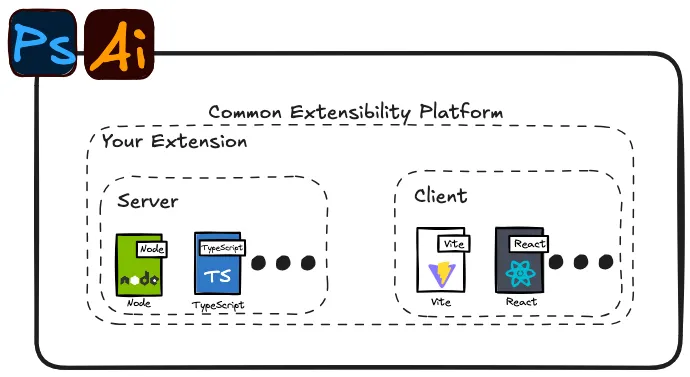
If you need to build an extension for Adobe Creative Cloud products (like Illustrator), but don't know where to start, this article is for you. I will share our experience of creating an extension, a sample repo to get you started,
Continue reading →
The sun hadn't risen as my alarm sounded, but I wasn't jolted awake—I'd already been up for hours, excitement and nerves keeping me alert. Winter in London means short days, which are further shortened in the days leading up to…
Continue reading →
While developing an app I repeated a few times a painful process of creating hand charts describing the behaviour of my script. I rolled up my sleeves to create a workflow that could generate a pretty interface in a single…
Continue reading →
Create your own Cross-Origin Resource Sharing (CORS) visualization and test it on an interactive CORS testing site. Discover the CORS policy, a security feature implemented by browsers to protect you from phishing attacks. Learn about Access-Control-Allow-Origin and Access-Control-Allow-Methods headers, and the…
Continue reading →
Discover how Digital Experience Composition Platforms (DXCP) like Builder.io are revolutionizing the CMS landscape! Learn how DXCP combines visual editing with composable architecture to improve Tech-Marketing workflows and overcome the limitations of traditional CMS. Introduction Hi everyone, I am Pierre, a Software…
Continue reading →Mastering API Versioning: Strategies for Seamless Frontend-Backend Communication in Mobile Apps
Abdelmoujib Megzari14 min read
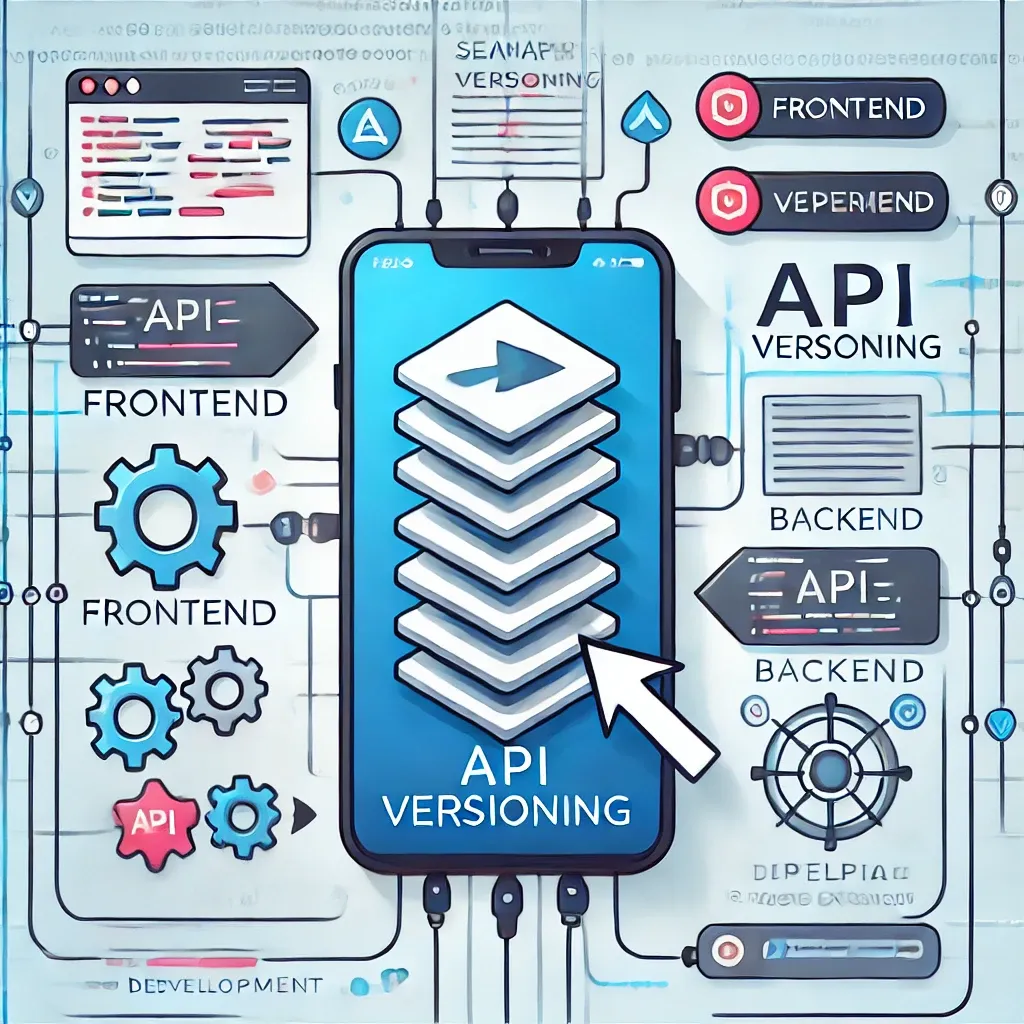
Effective API versioning is essential for maintaining seamless communication between the frontend and backend. This article explains why API versioning is important and analyses various versioning strategies, offering practical insights for backend and mobile app developers. My goal is to…
Continue reading →
This article explores various code quality analyzers and recommends the best tools for different project contexts, from rapidly growing new projects to large, established codebases with numerous collaborators. Static code analysis is a set of techniques of analyzing the code against…
Continue reading →
In this article, I will compare different Java template engines. Indeed, during one of my projects, I found myself needing to send a PDF as an email attachment. The challenge was to generate the PDF on the backend. In our…
Continue reading →
A couple of weeks, Meta announced the release of react-strict-dom. I can't stress just how a big a deal this is. Fundamentally, this will change the way we use React Native (and React on web, for that matter). It provides…
Continue reading →
How to start with hexagonal architecture ? The Hexagonal architecture follows the principles of Domain Driven Design (DDD), aimed at crafting a backend system that is easily editable, flexible and testable. If you are unfamiliar with DDD, there is an article…
Continue reading →