Learning through Generative Art : a Journey with Rust
Mickaël Gregot10 min read
This post explores the concept of Generative Art, presents a method for producing ideas for artworks, and demonstrates its practical application with the Rust programming language. Generative Art lets you create easy yet fun side projects to discover new things.
What is generative art ❓
Definition
According to Wikipedia:
Generative art is generally digital art that uses algorithms to create self-generating or non-predetermined works.
We’re going to look at how to generate interesting images and animations using basic algorithms based on randomness, coded in the language of our choice.
❓ You mentioned non-digital generative art ❓
Pendulum Painting - WM DIY
Examples of generative art
Training generator
A colleague developed a mini-application to generate original training titles.
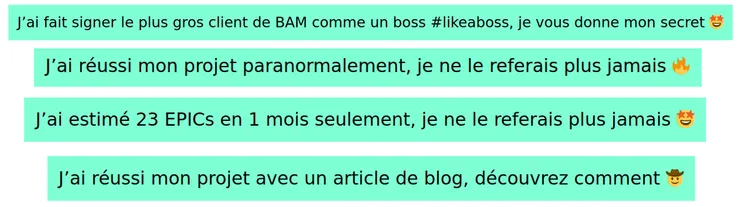
There is a recurring pattern: each sentence contains 4 sections.
| what I did | how I did it | a catchy part | a smiley face |
|---|
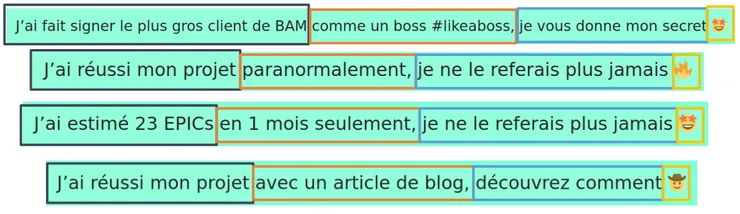
Each section contains around ten predefined items, so all you have to do is randomly pick an item from each section and put them together.
The application isn’t complicated, yet you’ll find yourself trying it out several times just to see the possibilities! It’s this kind of generative art application that I find particularly elegant: simple and creative.
NFT - Bored Ape Yacht Club
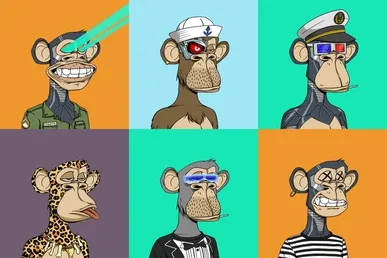
The Bored Ape Yacht Club, an NFT that created a buzz, uses the same random-draw principle.
This time we build an image from sub-images of different types: nose, mouth, ear, hat, background color, body …
Each item has a level of rarity. The rarer it is, the less chance we have of finding it. Accumulating several rare items makes the NFT even rarer.
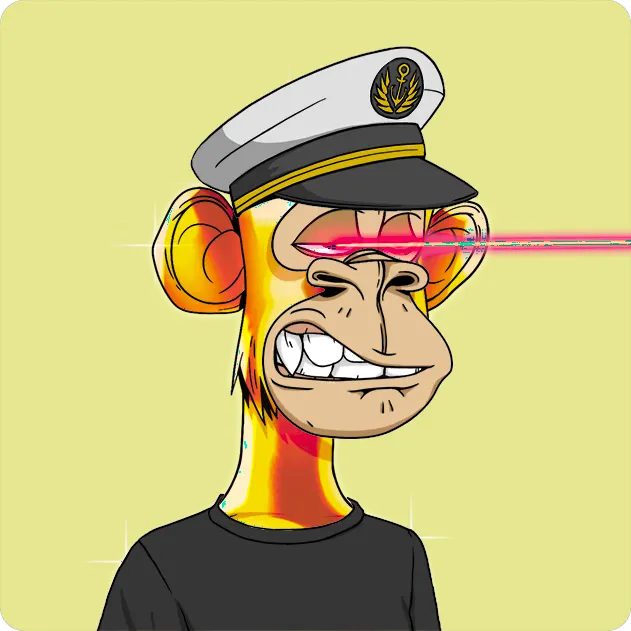 NFT sold at ETH 740 (~€3 million at the time)
So even a very basic generative art idea can do a lot of things!
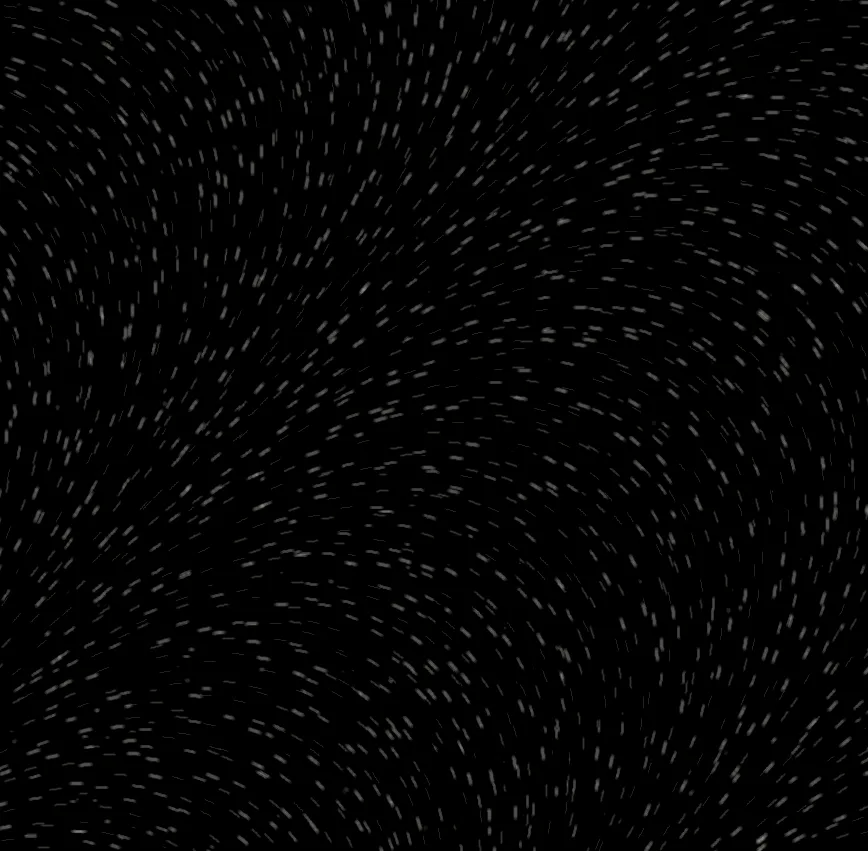
Animation
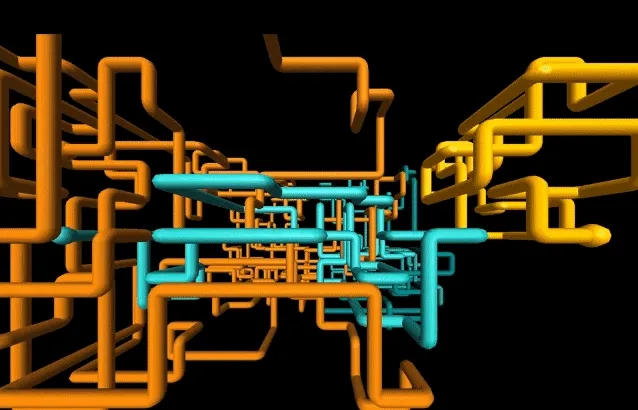
Pictures are good, animations are stylish too.
Simulation of a hundred points in a force field.
Why do Generative Art?
These algorithms are easy to implement in your favorite language, but try them out in a language you want to learn. The result is an easy, fun mini-project that will give you plenty to learn.
Level 1 : Turtle Python
![]()
Logo is an educational language (released in 1967!) which later inspired Turtle, a standard Python library. The principle is straightforward: we give elementary instructions (move forward, turn…) to a little turtle carrying a pen on a sheet of paper. Its movements produce drawings.
Children can then write down the instructions to produce a drawing, anticipating and reasoning about the turtle’s movement.
| go 10 forward | turn 90° | go 10 forward | turn 90° | go 10 forward | turn 90° | go 10 forward |
|---|
We can introduce the notion of a loop and the principle of DRY - Don’t Repeat Yourself.
Repeat 4 times
- go 10 forward
- turn 90°
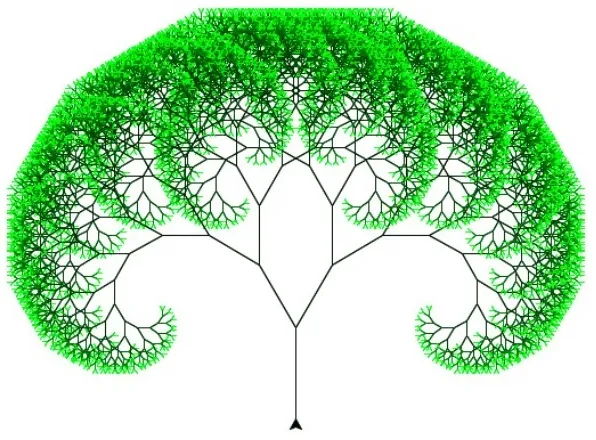
Despite Turtle’s simplicity, this opens the door not only to important algorithmic paradigms, but also to more complex worlds such as rose windows and fractals.
Level 2 : Processing
Available in several different languages, it’s a simple, flexible sketchpad for rapid prototyping.
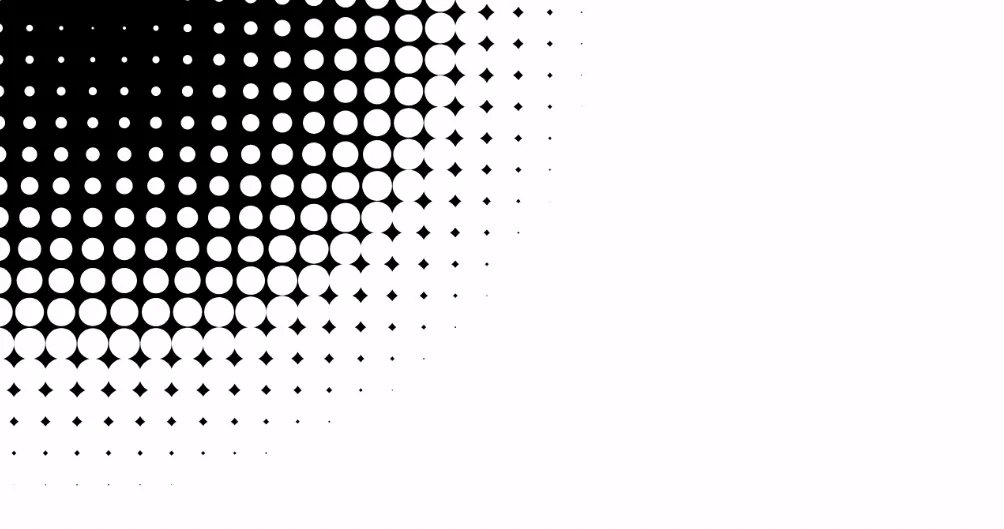 4 lines of setup and 10 of instructions are all it takes to make this animation.
Processing isn’t everything. The idea behind this animation is clever but not complicated: a black background on a grid of white circles whose diameter is proportional to their distance from the cursor.
This little animation lets you discover loop nesting, calculations, typing and the use of high-level framework functions.
How do you find inspiration?
Be curious and look around
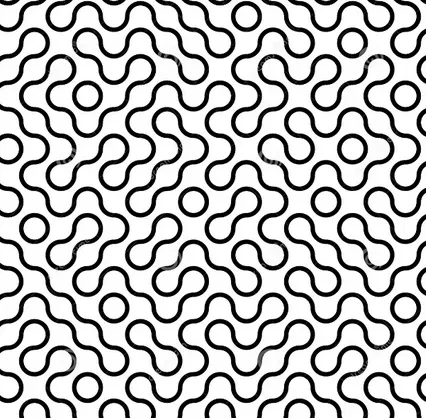
- old-school wallpapers
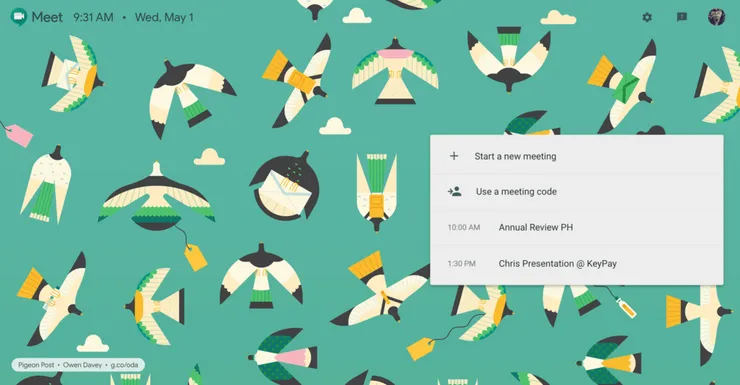
- Google meets home screens
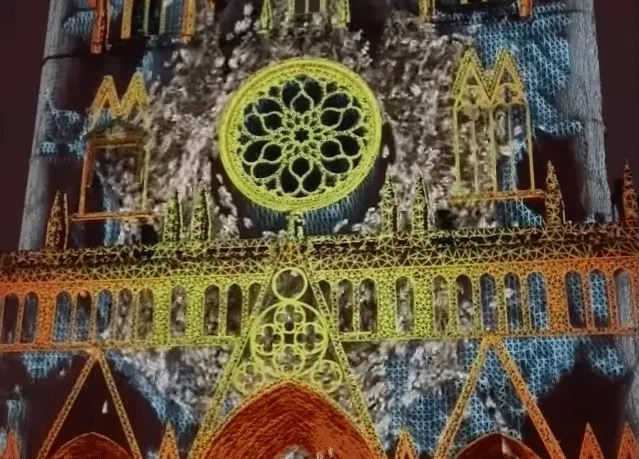
- Lyon’s Festival of Lights
But also Pinterest, Instagram, Reddit… the keywords Generative Art give endless ideas.
Redo a work of art you like
For example, this photo is really cool: the artist simply stretched each pixel in the last column.
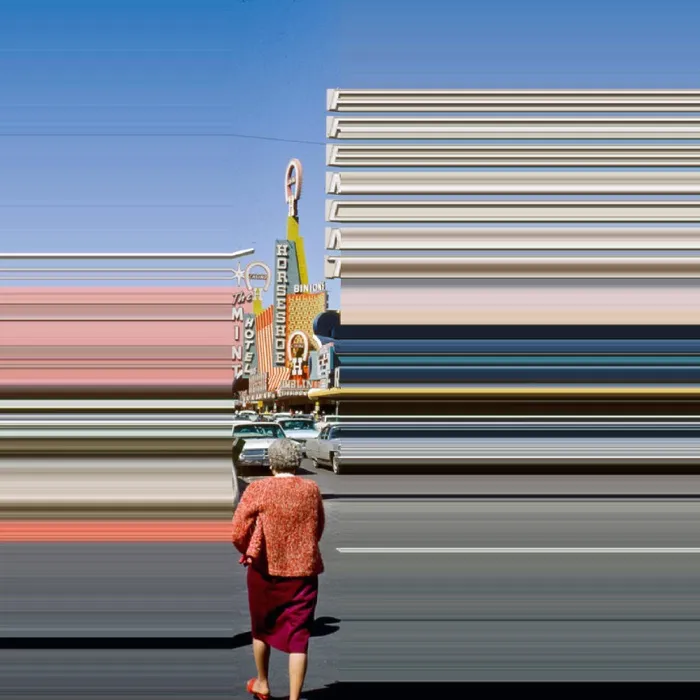 credits : Frances Berry - Lines We Live By
Let’s reproduce this concept with Processing:
def setup():
    size(1200, 950)
	global picture
	picture = loadImage("helsinki01.jpg")

def draw():
	global picture
	image(picture, 0, 0)
	for line in range(picture.height):
		color = picture.pixels[line * picture.width + mouseX]
		stroke(color)
		line(mouseX, line, picture.width, line)
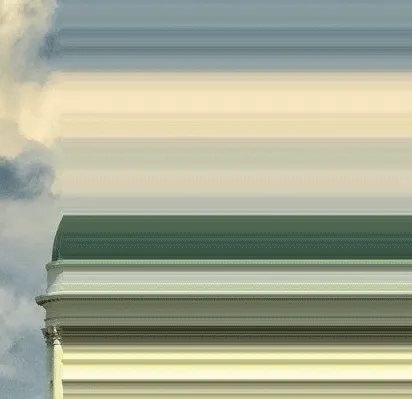
A kitschy wallpaper idea 
Looks a bit like a landscape on a train 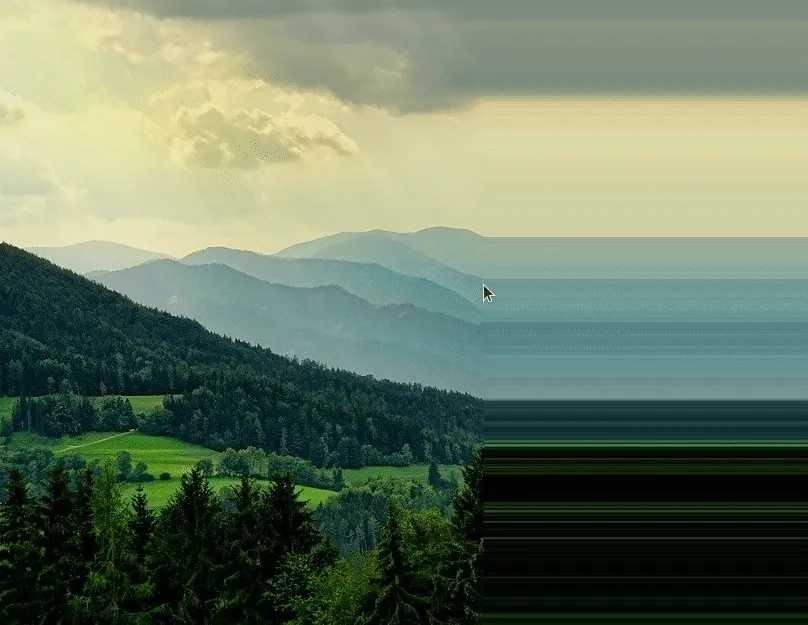
Let’s add a little blur 🚅 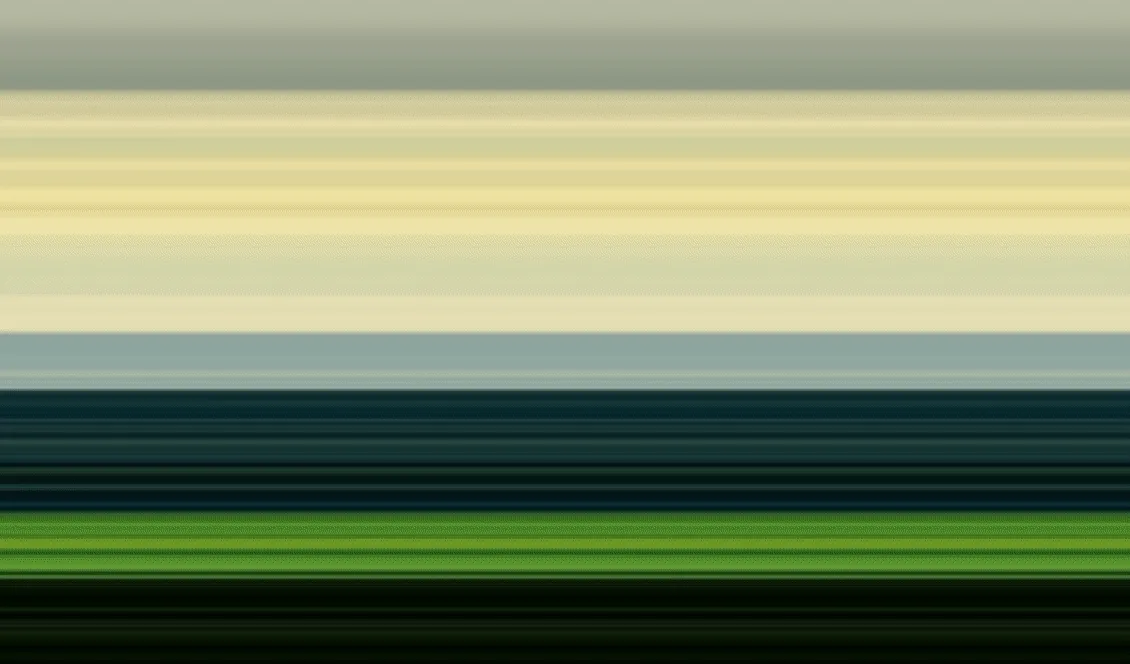
💡 Building on an existing idea leads to new ones.
Let’s get practical
We’ve discovered Generative Art, seen how much fun it can be and how to come up with new ideas. Now all you have to do is get your hands dirty in the language you’ve always wanted to try! In my case ✨ Rust ✨
Why Rust?
Rust, the world’s most beloved language
Rust is the language most loved by developers for the 7th year running. We can question the relevance of this poll, but this data remains intriguing!
Most loved, dreaded, and wanted language - Stackoverflow 
Critical performance in Rust
| Performance | Reliability | Productivity |
|---|---|---|
| low memory requirements | typed language | efficient documentation |
| no runtime or garbage collector | borrow system | compiler with clear error messages |
🔎 Zoom in on Rust’s borrow system, based on three key concepts
- Ownership: each value has a unique owner.
- Borrowing: the ownership of a value is managed by immutable or mutable borrowings.
- References: data types used to create immutable or mutable borrowings with
&.- Immutable references allow concurrent reading.
- Mutable references allow temporary and exclusive modification of the value.
This is a fundamental aspect of Rust: it avoids all pointer problems by avoiding the cost of a garbage collector. Errors are detected at compile time, not at runtime.
The borrow system encourages more modular and functional code design, avoiding undesirable side-effects and favoring clear separation of responsibilities. It also facilitates concurrent programming.
The drawback is that writing time is longer, but debugging time is reduced. A compiler with clear messages is therefore essential.
This concept highlights Rust’s critical performance.
The right tool for the right need
🛠 “I suppose it’s tempting, if the only tool you have is a hammer, to think of everything as a nail.”
Rust is mainly used to make command-line (CLI), network or embedded tools, thanks to its performance. It is also used in WebAssambly, which opens up possible solutions for Theodo.
Rust is used in production by many companies such as Mozilla, Sentry, OVH, Dropbox, Deliveroo, Atlassian, 1Password or Figma.
Nannou: a Generative Art framework for Rust
Let’s get back to our goal: to have a little side project that lets you discover Rust.
Artist Alexis André set himself the challenge of making one little animation a day using Rust and the Nannou framework. 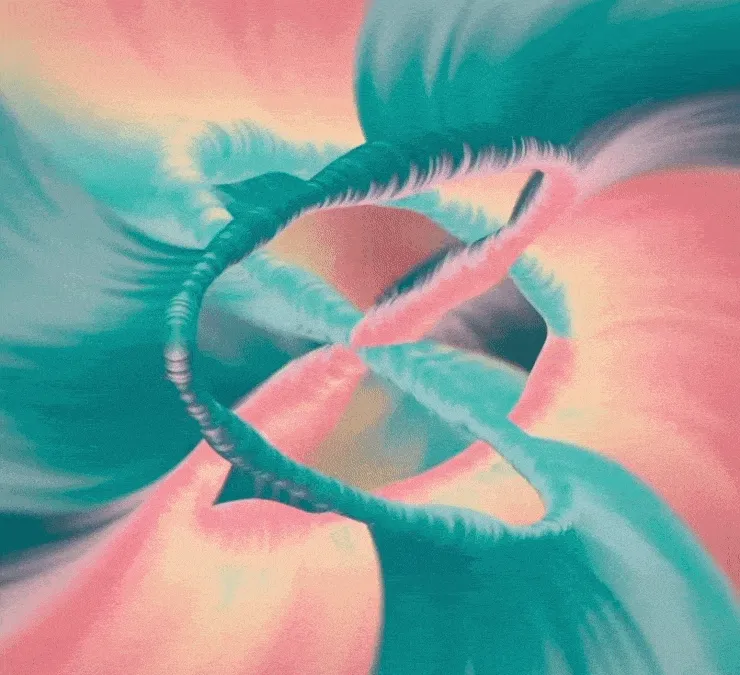
Checkpoints for a generative art framework:
- Examples to show the tool’s potential
- Precise documentation
- Example codes
Nannou ticks all the boxes, we can use it!
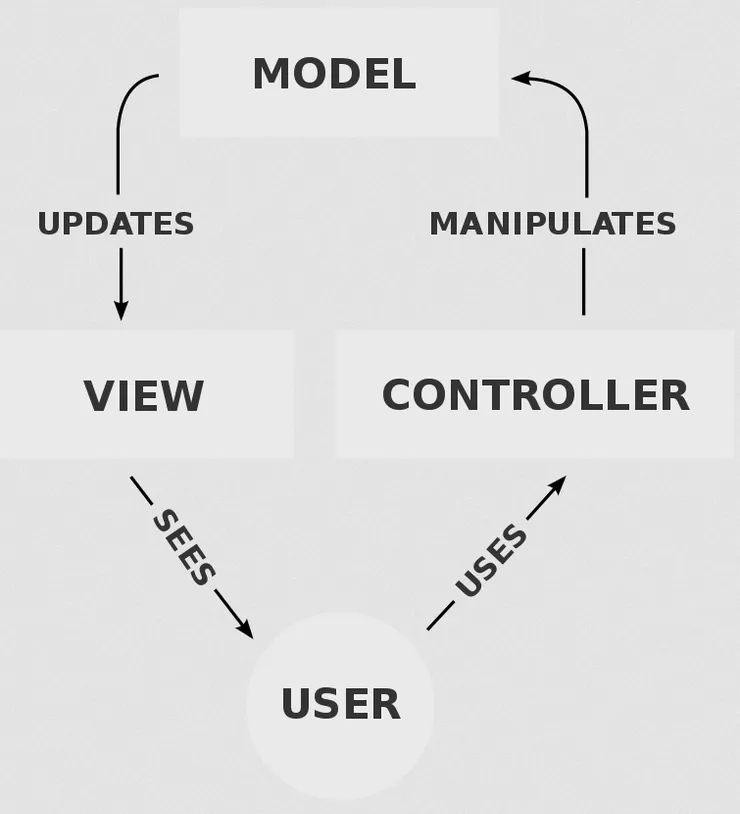
Nannou is based on the desing pattern MVC model view controller
- The model is like the conductor of an orchestra, managing data and logic.
- The view represents the way information is displayed.
- The controller converts user input into commands for the model.
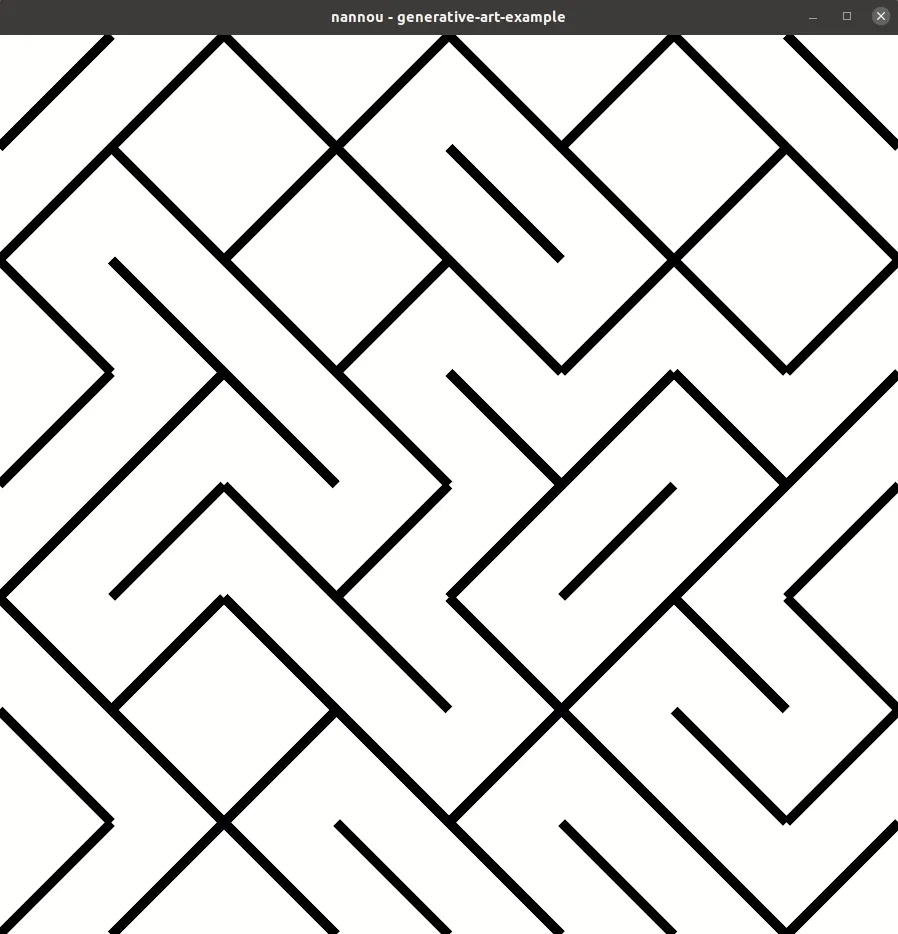
Goal
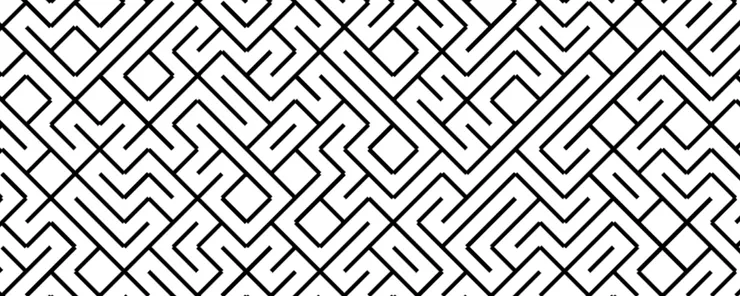
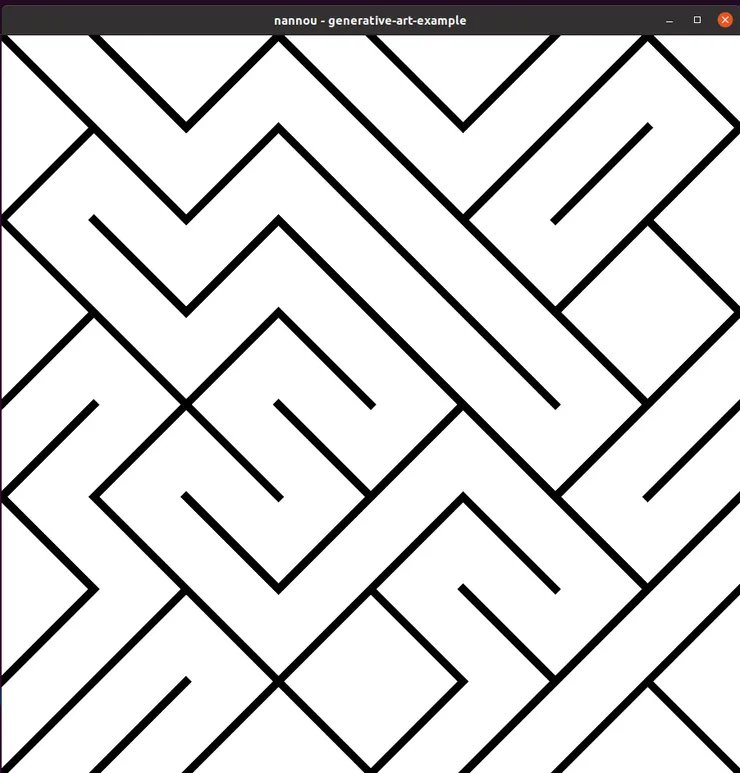
We’re going to create a minimalist image of an imperfect labyrinth.
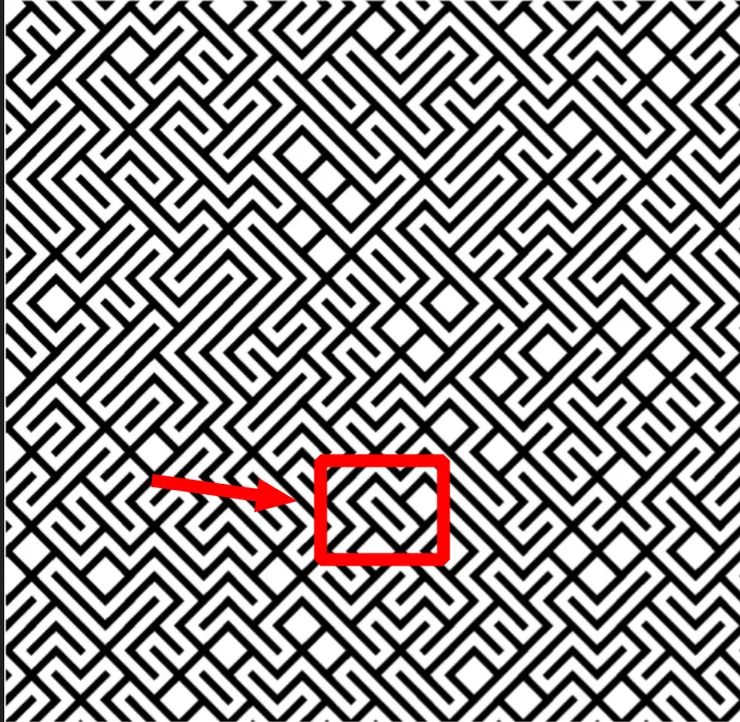 Imperfect: some parts are not reachable
Algorithm
Imperfection provides an easy algorithm for generating this labyrinth. A picture is squared and a diagonal is drawn in each square, either in one direction / or the other /. 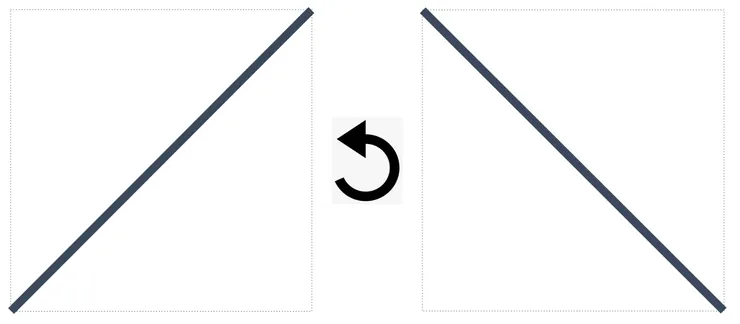
Nominal Code
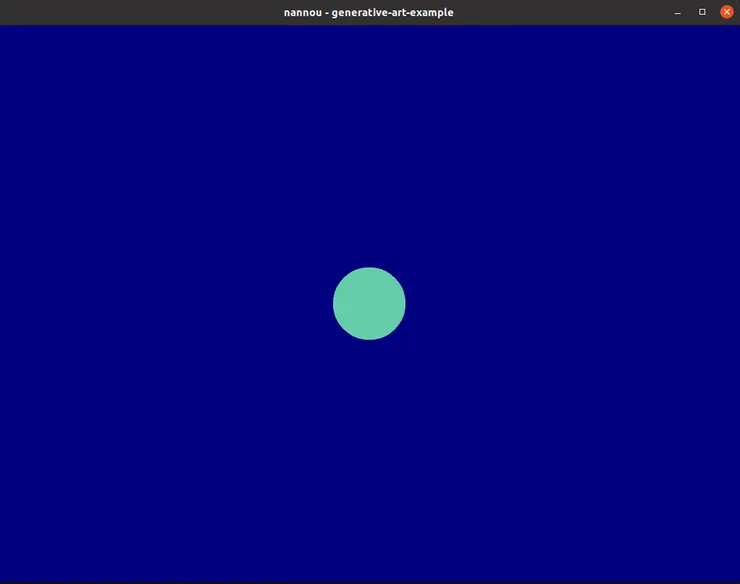
Let’s start by making a circle on a colored background.
use nannou::prelude::*;

fn main() {
    nannou::app(model)
        .update(update)
        .simple_window(view)
        .size(900, 900)
        .run();
}

struct Model {}

fn model(_app: &App) -> Model {
    Model {}
}

fn update(_app: &App, _model: &mut Model, _update: Update) {}

fn view(app: &App, _model: &Model, frame: Frame) {
    let draw = app.draw();
    draw.background().color(NAVY);
    draw.ellipse().color(MEDIUMAQUAMARINE);
    draw.to_frame(app, &frame).unwrap();
}
Notes
- We are back to the MVC model, with the
mainorchestrating the various roles. - The
udpatepart corresponds to the controller. We can ignore it, as we want a static image. - There are
&in the code, this is the use of Rust’s Borrow model mentioned above.
💡 Nannou’s guide is very good for more details on the nominal part.
Result
We need these different bricks for the labyrinth:
- Draw a diagonal
- Cut the image into boxes
- Draw a Boolean at random
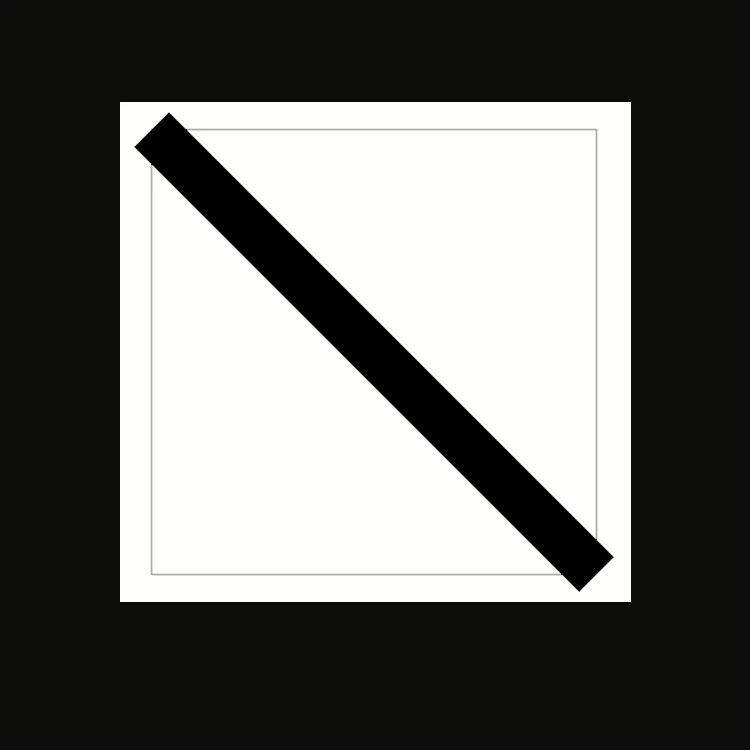
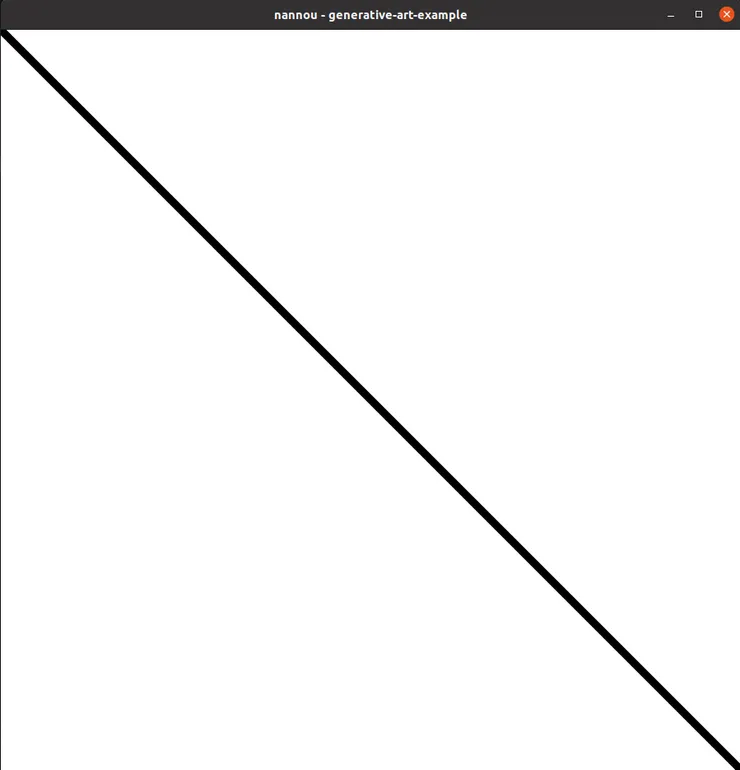
Draw a diagonal
Nannou uses the Rect object, a rectangle from which we can retrieve corner coordinates. To draw a line, Nannou follows the builder design pattern, simply specifying the start, end and additional parameters such as thickness and color.
let rect = app.window_rect();
draw.line()
    .start(rect.bottom_right())
    .end(rect.top_left())
    .weight(10.0)
    .color(BLACK);
draw.to_frame(app, &frame).unwrap();
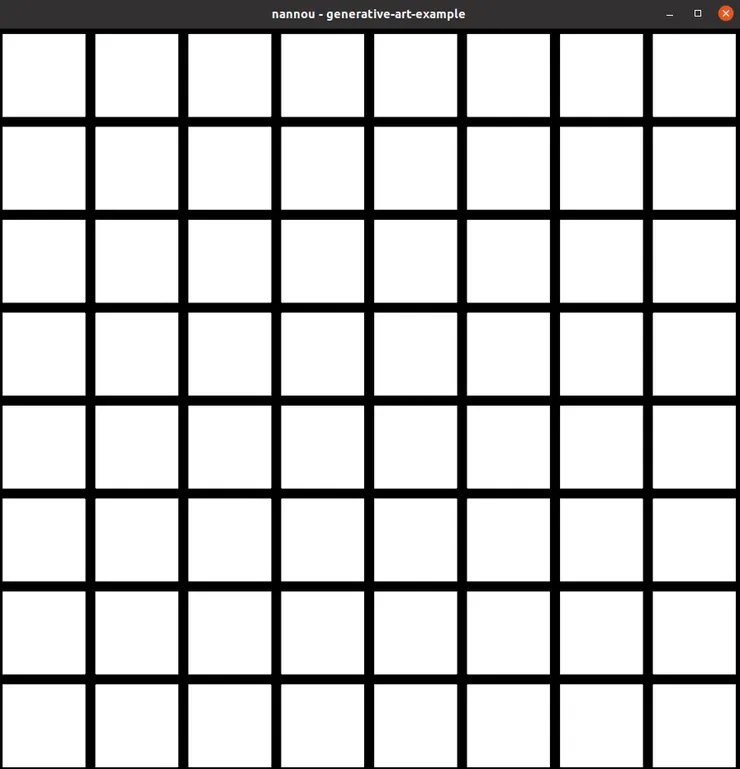
Subdivide into boxes
The subdivisions_iter() method of Rect allows you to subdivide the rectangle into 4 new rectangles in one iterator. By nesting for loops on each new rectangle, you can achieve the desired subdivision.
draw.background().color(BLACK);
for rect in app.window_rect().subdivisions_iter() {
    for rect in rect.subdivisions_iter() {
        for rect in rect.subdivisions_iter() {
            draw.rect().color(WHITE).x(rect.x()).y(rect.y());
        }
    }
}
Randomly draw a Boolean
Nannou offers helpers in its rand module for randomly drawing a Boolean.
use nannou::{prelude::*, rand};
rand::random();
Assembling in the Viewer
fn view(app: &App, _model: &Model, frame: Frame) {
    frame.clear(WHITE);

    let draw = app.draw();

    for rect in app.window_rect().subdivisions_iter() {
        for rect in rect.subdivisions_iter() {
            for rect in rect.subdivisions_iter() {
                if rand::random() {
                    draw.line()
                        .start(rect.bottom_right())
                        .end(rect.top_left())
                        .weight(10.0)
                        .color(BLACK);
                } else {
                    draw.line()
                        .start(rect.top_right())
                        .end(rect.bottom_left())
                        .weight(10.0)
                        .color(BLACK);
                }
            }
        }
    }

    draw.to_frame(app, &frame).unwrap();
}
To understand the bug 🐞 you need to understand what the view does.
The application’s view function is called each time the application is ready to retrieve a new image that will be displayed to a screen.
The program quickly generates and displays new images by recalculating the random print each time “view” is called, creating flicker due to frequent changes in diagonal direction.
Using the Model
As you can see, it’s not the role of the screen (= the view) to calculate whether a diagonal is one way or the other, but it is the role of the Model.
-
Preparing our data model
We choose to store the diagonals to be displayed in an array. We create a constructor for our diagonal. For more details on
structand method definition, please refer to the book The Rust Programming Languagestruct Model { diagonals: Vec<Diagonal>, } struct Diagonal { start: Vec2, end: Vec2, } impl Diagonal { fn random_from_rect(rect: Rect) -> Self { if rand::random() { Diagonal { start: rect.bottom_right(), end: rect.top_left(), } } else { Diagonal { start: rect.bottom_left(), end: rect.top_right(), } } } } -
Preparing each diagonal only once in the
modelAs before, we iterate over the subdivisions, then create and add our diagonal to our array.
Note the last line: the
returnis not necessary in Rust. The last expression evaluated in the function body is automatically returned as the return value.fn model(app: &App) -> Model { let window_rect = app.window_rect(); let mut diagonals: Vec<Diagonal> = Vec::new(); for rect in window_rect.subdivisions_iter() { for rect in rect.subdivisions_iter() { for rect in rect.subdivisions_iter() { diagonals.push(Diagonal::random_from_rect(rect)); } } } Model { diagonals } } -
Display each diagonal in the `view
Now all we need to do is retrieve the diagonals from the model and draw them.
Once again, we use
&to borrow the diagonals from the model.fn view(app: &App, model: &Model, frame: Frame) { frame.clear(WHITE); let draw = app.draw(); let diagonals: &Vec<Diagonal> = &model.diagonals; for diagonal in diagonals { draw.line() .start(diagonal.start) .end(diagonal.end) .weight(10.0) .color(BLACK); } draw.to_frame(app, &frame).unwrap(); }
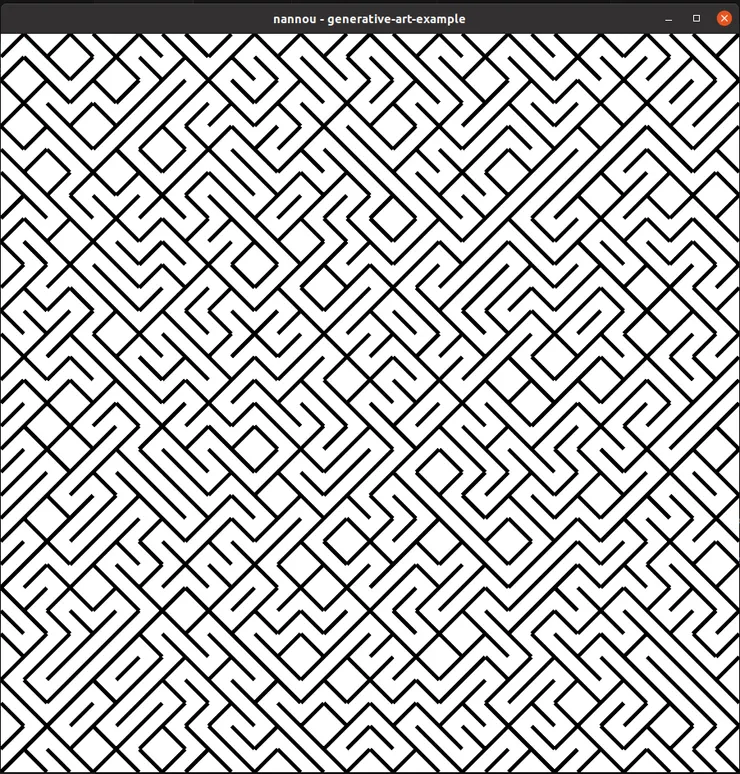
✨ Result ✨

Additional
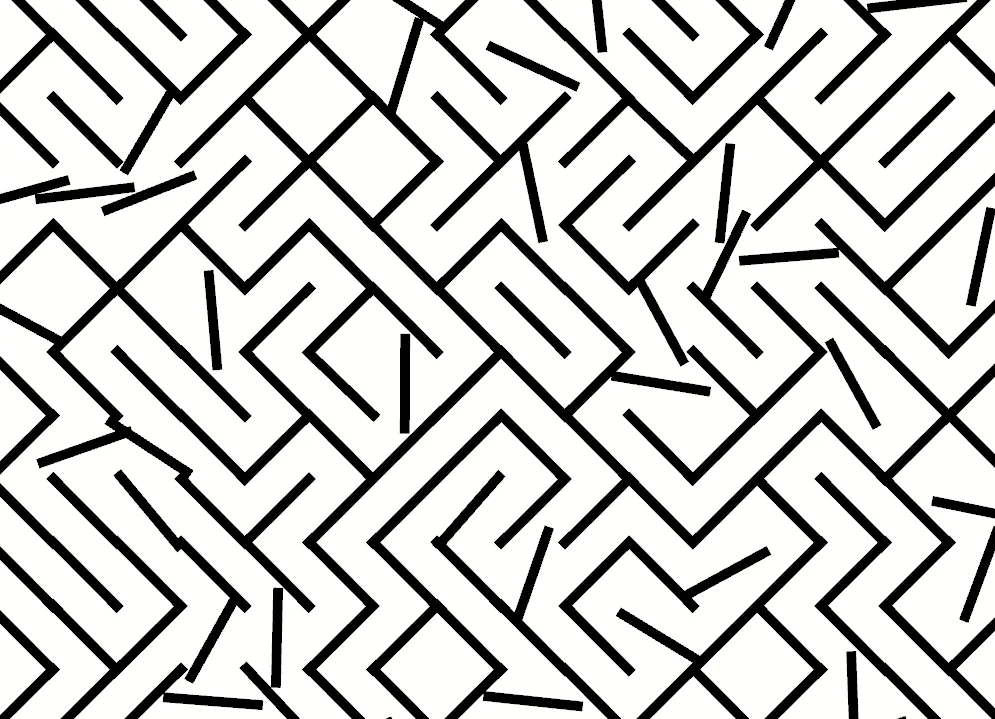
From the labyrinth we created, we can imagine variations:
-
Large maze
-
Wall corners aren’t perfect: how can I fix this? Tips - Using padding with a little geometry (or trial and error…)
-
Replace straight diagonal lines with curves
-
Creating an animation with moving walls
-
[ … ]
Once we have a base, coming up with ideas for iterations comes easily. Be curious and get your hands in there!
You can check out this talk by Tim Holman - Generative Art Speedrun which is full of brilliant ideas, as well as their tutorial.
Conclusion
This mini-tutorial introduced us to some of Rust’s concepts and philosophy, as well as various design patterns shared by other languages, such as builder, MVC and iterators.
You now have all the keys you need to create mini Generative Art projects in the framework you’ve always dreamed of testing!