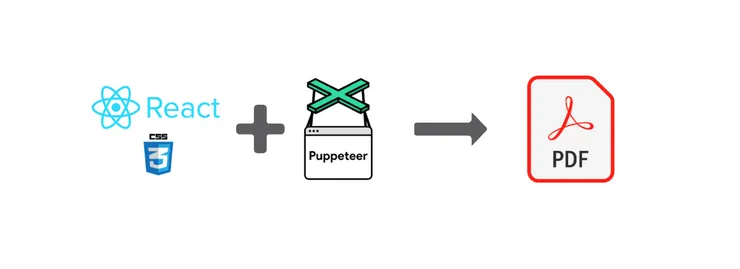
How to Generate Beautiful PDFs with React and Puppeteer
Clément Marcilhacy8 min read
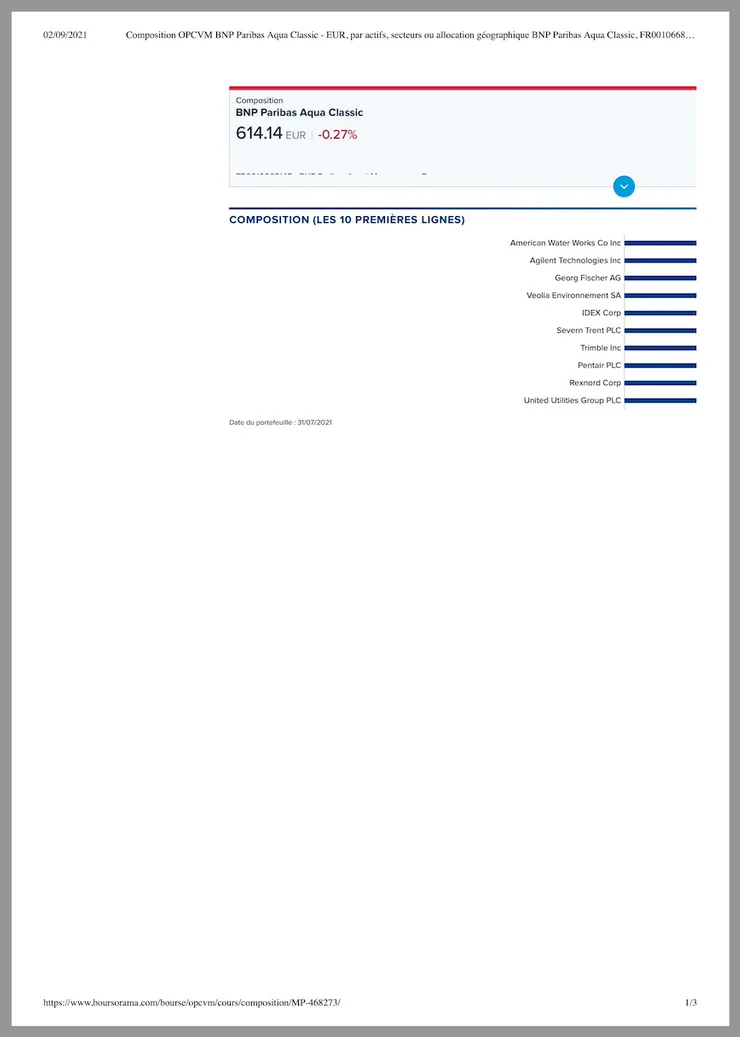
I recently had to provide a new functionality on my project: the “download as PDF” one. The first thing I wondered was why should we provide this functionality? Doesn’t it already exist natively with pretty much all web browsers with a right mouse click / print / “save as pdf” option? Well I tried on my webpage and the result was really disappointing:
- I had page breaks in the middle of my data tables, graphs, or any React component which aren’t supposed to be split on different pages
- I didn’t have any title, header, page number except the ugly default ones provided by the browser options
- I had many other UX/UI pain points that made the PDF quite unreadable
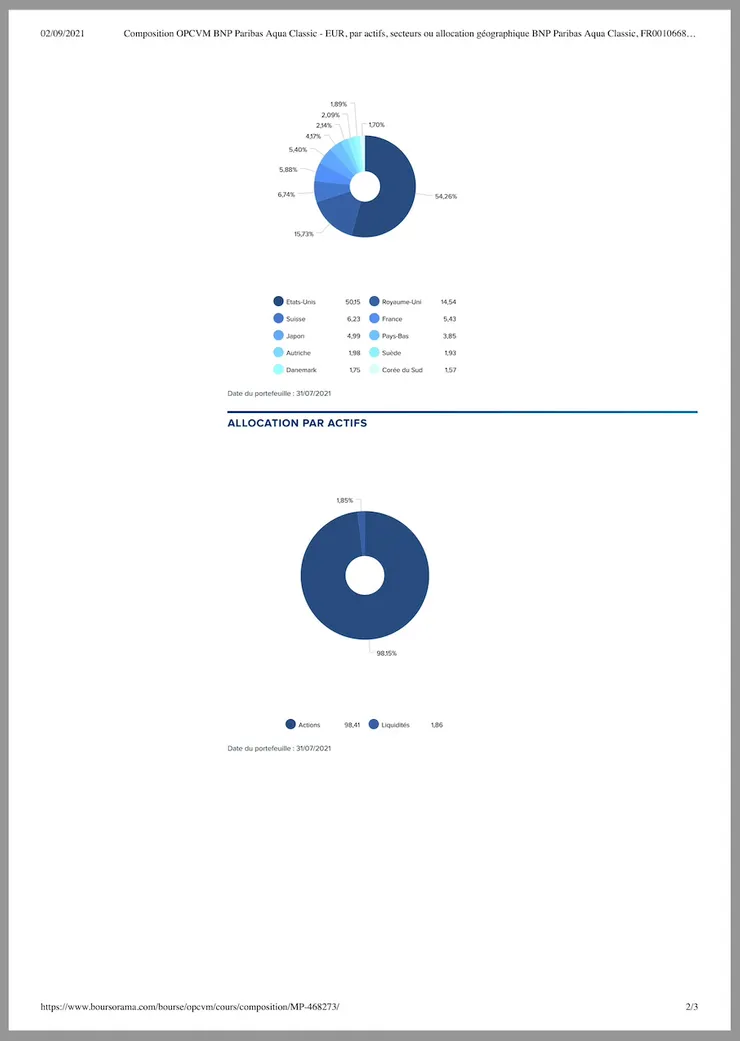
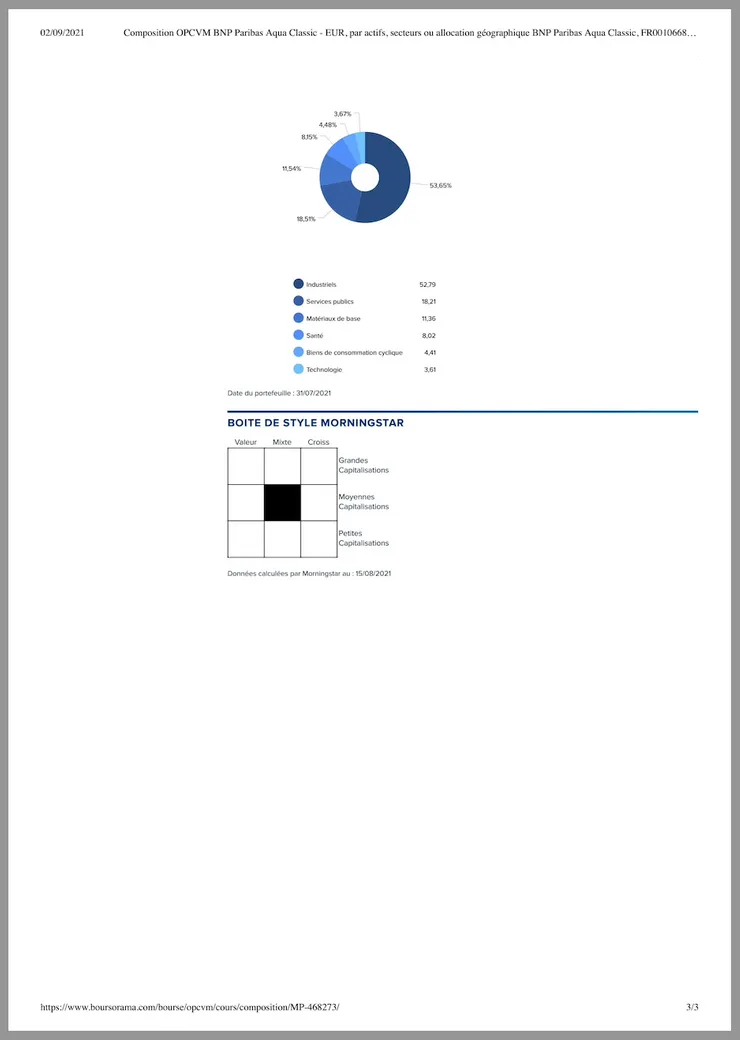
Example on a Boursorama random page, that looks like:
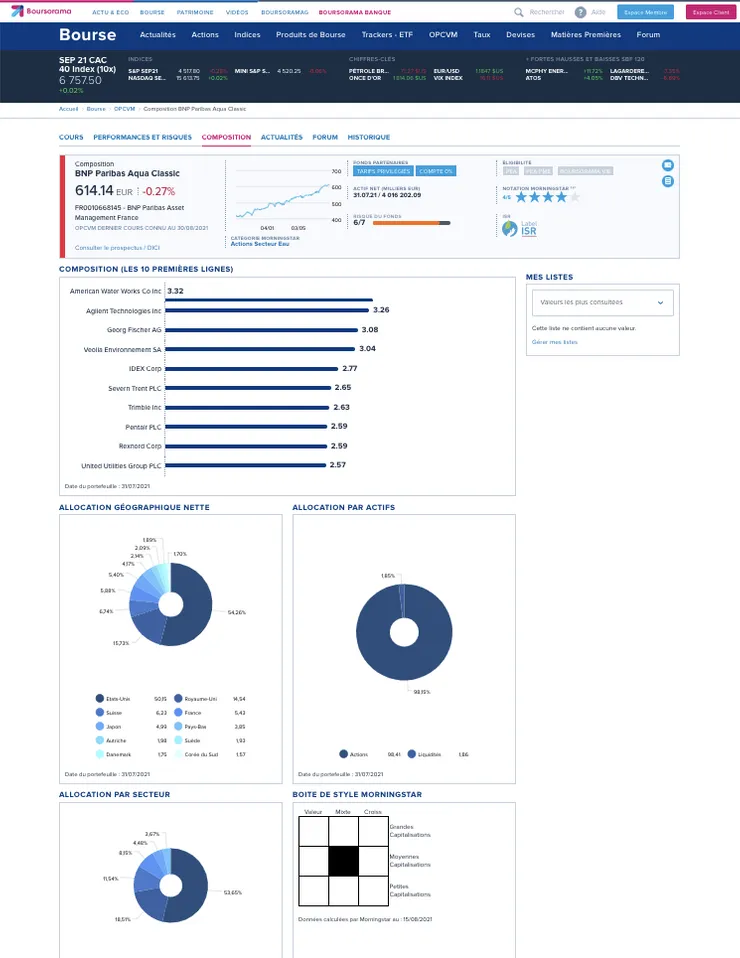
rendering:
That’s when I said “ok this feature may be worth it”, but how should I do it? There are many open source libraries that can generate PDFs. But my choice went naturally to the well-known, google-developed library: Puppeteer. According to me, it is the easiest way to deal with PDF generation of Single Page Applications. It may not be so if you don’t deal with javascript bundles but with plain HTML/CSS. Indeed, there are easier solutions for this use case like wkhtmltopdf, html-pdf-node or jspdf for example.
In this article, I want to give you a few tips to generate beautiful PDFs of SPAs with Puppeteer. Firstly, I will explain to you how you can create a printable version of your page with React and Puppeteer. Then, I will show you how to use Puppeteer for the generation of your new printable page.
Render a printable version of your page
For this part you don’t actually need to have Puppeteer or any other printer service set up. You can make your changes to your code as usual, and then ctrl+P on your page to see what it looks likes:

However, the feedback loop is not as quick as usual.
To adapt your code for printing, you have to bypass the 2 main differences between a web page and a PDF:
- The components of a React application are dynamic whereas a PDF is a static file
- A PDF has page breaks and a fixed size whereas a webpage is a “one page” app with a variable viewport size
From dynamic webpage to static rendering
Create the “printable version” of your SPA with React. To create the printable version of our page, you will have to add/remove/modify the different components that make up the page.
You basically have 2 solutions for this part:
- create a whole new custom design for your page
- adapt your current page
If you opt for the second solution (that is less costly), you will have to adapt your existing components. For example, if you have a table with 3 tabs, you will probably want to display the content of all the tabs. Something like displaying the tabs one after the other may do the trick:
Only dynamic:
<Table selectedTabIndex="tab1" />
Dynamic and Static:
const tabNames = ['tab1', 'tab2', 'tab3']

(isPrintable ?
	tabNames.map(tabName => <Table key={tabName} selectedTab={tabName} /> :
	<Table selectedTabIndex='tab1' />
);
In this case, the isPrintable props will determine whether to display the 3 tabs, or just the first one. You may pass this props to every dynamic component of your page, that needs to be adapted for printing.
Deal with page breaks and fixed size with CSS
As you can see with the Boursorama example, your components may be cut off between 2 pages when trying to print your page. It happens because your web browser has no idea where to break page if you don’t tell him. This is where the break-inside CSS property steps in. You obviously don’t want your previous set of tabs to be cut off in the middle. Neither your graphs or almost any component on your page. Then you would have to adapt the previous code to add this CSS property. It would work with inline-css but you probably don’t want to add the style={{ breakInside: 'avoid' }} everywhere in your jsx/tsx files.
You would rather use stylesheets. And instead of adding this property on every CSS class already existing, you’ll want to use the media @print option. This will let you custom your webpage for printing only! For example, you may want your text to be a bit bigger or to have a smooth grey color on the printable version, for any esthetic reason or convenience.
We’ll just add this in the @media object in your css file:
media @print {
  body: {
    font-size: "16px";
    color: "lightgrey";
  }

  .no-break-inside {
    // apply this class to every component that shouldn't be cut off between to pages of your PDF
    break-inside: "avoid";
  }

  .break-before {
    // apply this class to every component that should always display on next page
    break-before: "always";
  }
}
<MyComponent isPrintable=true className="no-break-inside" />
These few CSS tips should help you improve a lot the rendering of your webpage.
How to use Puppeteer to generate your PDFs
Now, your page is ready for printing. You know it when you pass the isPrintable props to your page, right click + print on your browser, and you are quite comfortable with what you seeing. Here comes the part of printing. You now have a printable version of your webpage, but the users have no idea of it, and even if the ctrl + P on the website, they will see the “dynamic” version of the webpage. To let them generate the PDF version and automate the generation of the latest, you probably want to add a button that will directly generate the PDF server side, and even add some customization.
This is what, among other things, Puppeteer is used for.
How Puppeteer works?
Puppeteer is a common and natural way to control Chrome. It provides full access to browser features and, most importantly, can run Chrome in fully headless mode on a remote server [...]
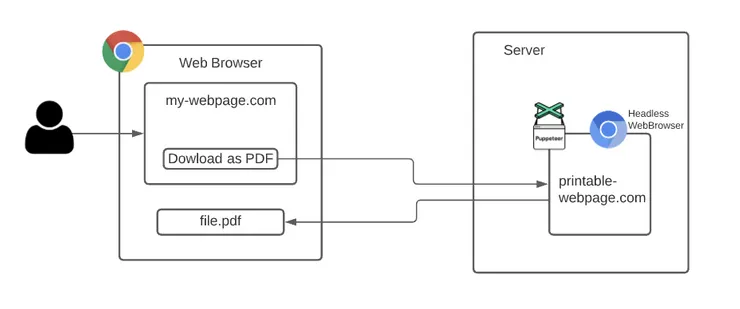 |
|---|
| Schema of how Puppeteer works server side |
Generation of the React app is done by a web browser. We need the minimal environnement able to execute javascript to render a DOM. Puppeteer will do it by launching a headless chromium. From now on, and since the generation is done on the server, the web browser doesn’t need to have a graphical user interface (GUI). Chromium with generate the printable version: the same page the user sees on his web browser but with the isPrintable props activated. Then Puppeteer will execute the pdf function on the page with some custom options that will trigger the printing of the page.
Just add the button with the URL that calls the printer service:
<Button onClick={window.open(downloadUrl, "_blank")}>Download as PDF</Button>
The downloadUrl is actually a GET request on your server that will execute Puppeteer on the server and return content with content-type application/pdf
So what does this Puppeteer code look like?
How to use it?
To be able to actually download the PDF, you just need a few code lines.
The minimal code would then look like:
const puppeteer = require("puppeteer");

(async () => {
  const browser = await puppeteer.launch(); // launch a browser (chromium by default but you can chose another one)
  const page = await browser.newPage(); // open a page in the browser
  await page.goto("https://printable-version-of-my-wbe-page.com", {
    waitUntil: "networkidle2",
  }); // visit the printable version of your page
  await page.pdf({ format: "a4", path: "./my_file.pdf" }); // generate the PDF 🎉
  await browser.close(); // don't forget to close the browser. Otherwise, it may cause performances issues or the server may even crash..
})();
These are the common steps you’ll need to generate the PDF. Depending on your backend, you probably don’t want not to download the PDF on the server but to render it on a response object, to send it back to the client (the web browser of the user). You should then adapt the page.pdf() method with const buffer = await page.pdf({ format: 'a4'}); and return this buffer on the _blank page the user opened on his browser, waiting for a response.
Add some options to customize the PDF
You can of course adapt the options your naturally have on your browser, like the paper size, the scale, the margins, etc. with the help of the official documentation: https://github.com/puppeteer/puppeteer/blob/v10.4.0/docs/api.md#pagepdfoptions.
One cool option that I recommend, mainly because the default one provided by Google Chrome is really ugly, is the header or footer template. Just read a HTML file template and pass it through the data you want to display such as the current date, the page number for each page, or even an image/logo:
const footerBase = fs.readFileSync("./footer.html", "utf8");

customFooter = footerBase
  .replace("{{date}}", new Date())
  .replace("{{image_data}}", imageData);

await page.pdf({ format: "a4", footerTemplate: customFooter });
using a html template
<style>
#logo {
  height: 40px;
  content: url("data:image/png;base64,{{image_data}}");
}
</style>

<div id="body">
  <div id="page-number-paragraph">
    <span id="date">{{date}}</span>
    <span>Page</span>
    <span class="pageNumber"/></span>
    <span>/</span>
    <span class="totalPages"></span>
  </div>
  <div id="brand-container">
    <span id="logo"></span>
  </div>
</div>
You now have provided to your PDF a fully customized footer.
There are a lot of other options regarding, the PDF generation, but also for the previous steps of launching the browser, opening a new page, going to the URL, that will let you fully customize your PDF generation on the server.
Conclusion
Finally, by adapting your React/CSS code and using Puppeteer, you can easily provide a fully custom PDF of your page. Moreover, Puppeteer is doing all the stuff server side. Which makes this feature fully transparent, quite fast for the end user, and with the same result for every user on any browser! Puppeteer is really powerful and has a lot of options that make the PDF generation quite easy for the developers, and with a rendering much more custom and beautiful than the default one on users’ browsers.