Writing a native Ionic plugin for Capacitor in less than 30 minutes
James Haworth Wheatman8 min read
TLDR: When the pandemic first started, I decided to develop a contact-tracing mobile app. I was studying Computer Science at the time and decided to use the same cross-platform framework that we were using on our course - Ionic. I wanted to use Google’s Nearby Messages API to share packets of information between iOS and Android devices via Bluetooth, but I couldn’t find a plugin for this, so I decided to write my own!
View commits: Android plugin → iOS plugin → Import native plugins → Implementation
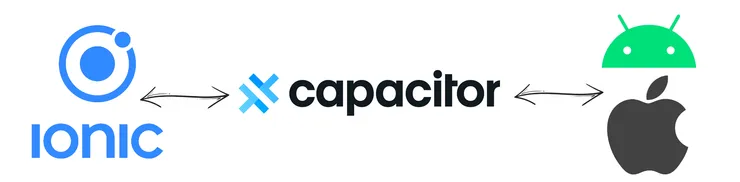
Ionic is a cross-platform mobile framework which allows you to develop an app using JavaScript/HTML/CSS and share this single implementation across different native devices. This Ionic project can then be compiled to native source code (Android/iOS) using Ionic’s tool, Capacitor.
Using a cross-platform framework like this to develop your mobile app is almost always a good idea, because it means you can maintain a single codebase which runs on both Android and iOS. This means you’re not duplicating business logic across two different codebases in two different languages with two different teams (to be avoided).
If you’re looking to write some native code in a cross-platform project but you’re still deciding which framework to use, check out this Theodo blog post on React Native as well!
Step 1 - Search for existing solutions
Firstly, let’s have a quick check that one of the default plugins doesn’t do the job for us already.
Secondly, let’s search through the community plugins to find the feature we’re looking for.
No luck finding an existing plugin? Don’t worry - let’s move on to step 2!
Step 2 - Start a new app with Ionic + Capacitor
I’m starting a new project from scratch just to show you how it’s done.
npm install -g @ionic/cli

ionic start <app-name>
cd <app-name>
ionic serve <-- you can serve your project on localhost
The /src directory of our Ionic project holds the source code for our cross-platform app.
We can use Capacitor to compile this into two native projects:
npm install @capacitor/cli @capacitor/core

npx cap init
npx cap add ios
npx cap add android
When we make changes to our /src directory, we can apply those changes to our native projects by running npx ionic build && npx cap copy.
We now have our project set up and ready to add a custom plugin.
Step 3 - Check the documentation
Capacitor is well-documented and it’s worth linking some references here to accompany this guide:
Step 4 - Define a strategy
There are three main steps to writing a plugin:
- (iOS & Android) Write a class in each native project to hold the native code we want to run (this is our plugin).
- (iOS & Android) Register these classes inside the bridge of our native projects to expose the methods.
- (Javascript - Ionic) Import and call the methods of our registered plugin.
We should avoid duplicating code as much as much as possible (DRY), so all your business logic stays written in JavaScript, keeping the bare minimum written natively.
Your plugins should be narrow in scope (do one specific thing) - make sure to follow this philosophy and give your plugin a specific name (‘Plugin’ is a bad name!).
We have two main strategies for calling our plugins:
- An (asynchronous) method: we call some native method which we can
awaitin our business logic in Ionic. - Event listeners: define a listener in our business logic. Events can be triggered in our native code to pass payloads back to the business logic.
If we are subscribing to a stream of events (expecting our method to resolve with multiple payloads over a longer time period e.g. geolocation/ Bluetooth updates), then event listeners are the appropriate way to handle our native calls.
Step 5 - Write and register the Android plugin
Open the /android directory of your project in Android Studio.
In /app/src/main/java/../../.. (next to MainActivity.java), we can create a new file (I’m calling mine IonicNativePluginExample.java) and write a class which extends the Capacitor Plugin class:
package /* <package-name> */; // e.g. io.ionic.starter

import com.getcapacitor.JSObject;
import com.getcapacitor.Plugin;
import com.getcapacitor.PluginCall;
import com.getcapacitor.PluginMethod;
import com.getcapacitor.annotation.CapacitorPlugin;

@CapacitorPlugin(name = "IonicNativePluginExample")
public class IonicNativePluginExample extends Plugin {

    @PluginMethod
    public void NativeMethod(PluginCall call){
        JSObject result = new JSObject();
        result.put("message", "Hello Android user!");
        call.resolve(result);
    }

    @PluginMethod
    public void NotifyListeners(PluginCall call){
        JSObject result = new JSObject();
        result.put("message", "Hello Android user!");
        notifyListeners("EVENT_LISTENER_NAME", result);
    }

}
Next, we can register this plugin in MainActivity.java where Capacitor initialises its bridge:
package /* <package-name> */; // e.g. io.ionic.starter

import android.os.Bundle;
import com.getcapacitor.BridgeActivity;

public class MainActivity extends BridgeActivity {
    @Override
    public void onCreate(Bundle savedInstanceState) {
        super.onCreate(savedInstanceState);
        registerPlugin(IonicNativePluginExample.class);

    }
}
We can run our project like any other native Android project, by pressing the ‘play’ button in Android Studio.
If you’re looking to develop in Kotlin - Android Studio comes with tooling to convert this Java class to Kotlin (right-click the file you want to convert).
Note: you might need to edit the Gradle distributionUrl to get the project build to succeed - there’s an example in my repo here.
Step 6 - Write and register the iOS plugin
Open the ios/App directory of your project in Xcode.
In /App (next to AppDelegate.swift), we can right-click on the directory to create a new swift file (I’m calling mine IonicNativePluginExample.swift). This will hold our plugin class with our IonicNativePluginExample method.
import Foundation
import Capacitor

@objc(IonicNativePluginExample)
public class IonicNativePluginExample: CAPPlugin {

	@objc func NativeMethod(_ call: CAPPluginCall) {
		call.resolve(["message": "Hello iOS user!"])
	}

	@objc func NotifyListeners(_ call: CAPPluginCall) {
		self.notifyListeners(
			"EVENT_LISTENER_NAME",
			data: ["message": "Hello iOS user!"]
		)
	}

}
Next, we must register our plugin in a new Objective-C file called IonicNativePluginExample.m (same name as our plugin file but with a .m extension). When prompted by Xcode, create a Bridging Header file (which is an empty file called App-Bridging-Header.h), then register the plugin like so:
#import <Foundation/Foundation.h>
#import <Capacitor/Capacitor.h>

CAP_PLUGIN(IonicNativePluginExample, "IonicNativePluginExample",
           CAP_PLUGIN_METHOD(NativeMethod, CAPPluginReturnPromise);
           CAP_PLUGIN_METHOD(NotifyListeners, CAPPluginReturnPromise);
)
We can run our project like any other native iOS project, by pressing the ‘play’ button in Xcode.
Step 7 - Import and call our plugin in Ionic
Finally, we can now access the plugins we have written from our Ionic project. I’ve created a /plugins directory to export mine from. We import registerPlugin from Capacitor to find the plugin we have registered in Android and iOS:
import { registerPlugin, Plugin } from "@capacitor/core";

// we can take advantage of TypeScript here!
interface NativePluginInterface extends Plugin {
  NativeMethod: () => Promise<Record<"message", string>>;
  NotifyListeners: () => Promise<void>;
};

// it's important that both Android and iOS plugins have the same name
export const IonicNativePluginExample = registerPlugin<NativePluginInterface>(
  "IonicNativePluginExample"
);
Now we can call the methods in our plugin and access the native code:
import { IonicNativePluginExample } from './plugins/IonicNativePluginExample'

...

// add a listener to native events which invokes some callback
IonicNativePluginExample.addListener("EVENT_LISTENER_NAME", ({ message }) =>
    console.log(message);
);

// destructure the methods to call our native code from our non-native app
const { NativeMethod, NotifyListeners } = IonicNativePluginExample;

// native methods are asynchronous
const { message } = await NativeMethod();

// this method will trigger our event listener
NotifyListeners();
Note: to see our changes reflected when we run the project natively, we need to run npx ionic build && npx cap copy.
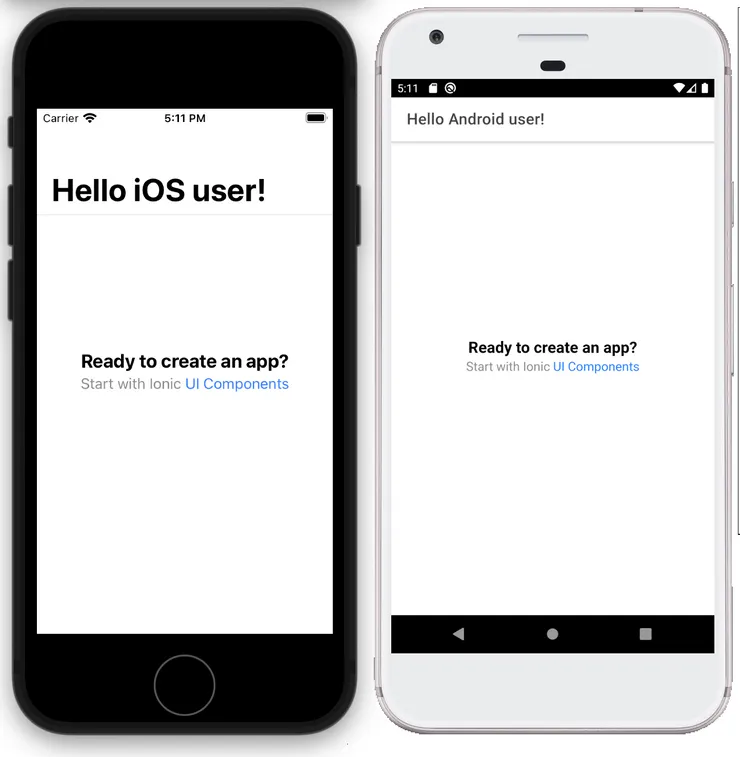
We now have a cross-platform app set up ready to write a native implementation. We run the same business logic from our Ionic app and get a different implementation for each device we run on.
I made a small edit to our Ionic project to create the simple implementation below - you can view the commit here.
More complex plugins
With the above setup, you should be ready to write more complex native code to suit your needs for a cross-platform Ionic application.
I wrote a native Plugin for Google’s Nearby Messages API, which is a publish-subscribe API made by Google which facilitates the transfer of information between internet-connected Android and iOS devices.
Nearby Messages uses a combination of Bluetooth, Bluetooth Low Energy, Wi-Fi, and near-ultrasonic communication between nearby devices to create a unique pairing. This pairing is then used to send small payloads over the internet between nearby devices.
Here’s a quick code snippet from the Android plugin:
...

import com.google.android.gms.nearby.Nearby;
import com.google.android.gms.nearby.messages.Message;
import com.google.android.gms.nearby.messages.MessageListener;

...

@NativePlugin()
public class NearbyMessagesPlugin extends Plugin {

		private Message mMessage;
    private MessageListener mMessageListener = new MessageListener() {
        @Override
        public void onFound(Message message) {
            JSObject result = new JSObject();
            result.put("message", new String (message.getContent()));
            notifyListeners("FOUND_MESSAGE", result);
        }

        @Override
        public void onLost(Message message) {
            JSObject result = new JSObject();
            result.put("message",  new String (message.getContent()));
            notifyListeners("LOST_MESSAGE", result);
        }
    };

    @PluginMethod
    public void Subscribe(PluginCall call){
        Nearby.getMessagesClient(getContext()).subscribe(mMessageListener);
    }

    @PluginMethod
    public void Publish(PluginCall call){
        String value = call.getString("message", "-");
        mMessage = new Message(value.getBytes());
        Nearby.getMessagesClient(getContext()).publish(mMessage);
    }
}
Event listeners are appropriate here because although we don’t know when/if the phone will pick up a Bluetooth signal, a side-effect can still be triggered in the business logic when it does. Subscribe can be invoked to subscribe to mMessageListener and listen for Bluetooth messages (or we could just call Subscribe in the onCreate of our native code if we wanted to).
Summary
Once you’ve got a simple implementation, you can move on and write some more complex native code.
If you want a quick-start, you can fork my repository on GitHub, but following along with the article and doing it yourself will really help your understanding.