A Guide to Syncing Django and Stripe with Webhooks
Arohan Subramonia7 min read

This guide is for developers who have basic familiarity with Django, and Stripe Subscriptions with Elements (not Stripe Checkout). If you’re unfamiliar with these, do check the links.
Subscriptions with Elements
 Subscription objects flowchart as shown on the Stripe website
Stripe has a great overview explaining how their subscriptions API works. Once you begin implementing a subscriptions flow on your platform with Elements, you’ll notice that you do a lot of the ‘heavy lifting’ yourself - you have to create and update individual Products, Prices, Customers, Subscriptions and PaymentMethods yourself. If you’re not very familiar with these objects, or with subscriptions using Elements, check out the links from this paragraph or have a look at the Stripe Django Models tutorial before moving ahead!
There are two ways to create and update these objects. The first way (if you’ve already installed the stripe package for python) is using code written at an api endpoint. For example:
# urls.py
from django.urls import path
from .views import create_customer

urlpatterns = [
    path("create-customer/", create_customer, name="create_customer"),
]
Defining the url endpoint to call to create a customer
# models.py
from django.db import models
from django.contrib.auth.models import User

class UserProfile(models.Model):
    user = models.OneToOneField(User, on_delete=models.CASCADE)
    stripe_customer_id = models.CharField(max_length=50, blank=True, null=True)
    stripe_subscription_id = models.CharField(max_length=50, blank=True, null=True)
Creating a custom model linked to the Django’s default user model, to store the stripe customer id
# views.py
from django.views.decorators.csrf import csrf_exempt
from django.contrib.auth.models import User
from .models import UserProfile
import stripe
import constants

stripe.api_key = constants.STRIPE_API_KEY

# needed to allow non-django POST requests to an endpoint
# A safer way is using django.middleware.csrf.get_token() on login and storing that
# in your global front end state
@csrf_exempt
def create_customer(request,selected_username):
    if request.method == "POST":
        # Get the relevant user object from your database
        req_user = User.objects.get(username__iexact=selected_username)
        # Format the full name
        full_name = req_user.first_name + " " + req_user.last_name
        # Create the stripe customer
        created_customer = stripe.Customer.create(name=full_name,email=req_user.email)
        # Save the stripe customer id in your Django database using a custom model
        req_userprofile = UserProfile.objects.get(user=req_user)
        req_userprofile.stripe_customer_id = created_customer.id
        req_userprofile.save()
Creating a stripe Customer and storing the id into our database for future use
The second way is using the stripe dashboard. By logging in to your Stripe Dashboard, selecting ‘Customers’ from the sidebar and then clicking the ‘New’ button, you can manually add a new customer onto your dashboard.
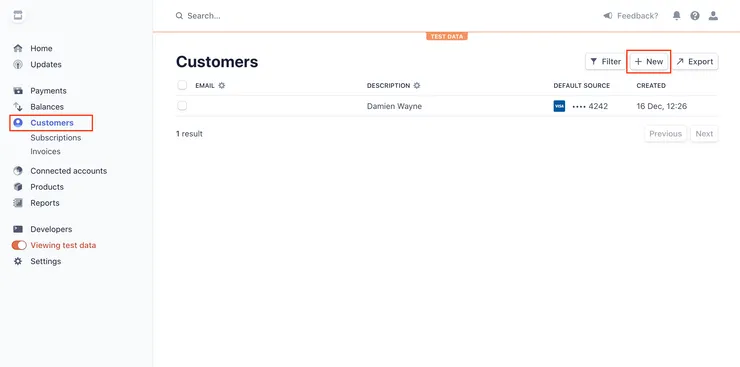
Create New Customers from the Stripe Dashboard
With these two ways, a problem arises.
We need to ensure that our Django database and our Stripe Dashboard is synced, always. Which means:
- Creating a Customer using code should automatically update our Stripe Dashboard
- Creating a Customer on the dashboard should automatically update our Django database
The first instance is automatically configured for us using stripe. Using
stripe.Customer.create()
will automatically ensure that your Stripe Dashbaord is updated (assuming you have your Stripe public and private keys appropriately set). But what about updating your Django database when changing information on your Stripe Dashboard?
That’s where webhooks come in.
When to use Webhooks
Creating a customer is just one example. You can do much more in the Stripe Dashboard like creating/updating/deleting a user’s Subscription, changing the free trial length of a recurring Price (previously known as a Plan) and much more. This involves no code, and is often very useful for site admins to have access to.
However, as we’ve discussed, these changes need to be reflected in your database. Let’s have a look at an example with a ‘Subscription’ object. A subscription can be created similar to a customer, using
stripe.Subscription.create(...)
which causes a new ‘Subscription’ object to appear in the ‘Subscriptions’ section of the Dashboard. If a Customer then requests to have their subscription cancelled, a site admin might delete the subscription on the Stripe Dashboard, by navigating to the ‘Subscriptions’ section and clicking ‘Cancel Subscription’:
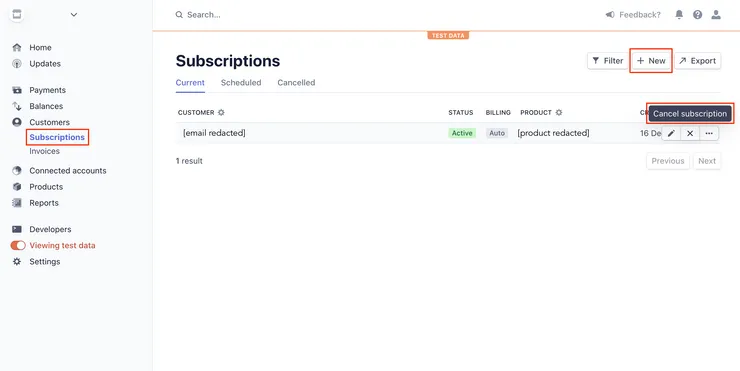
CCreate and Cancel Subscriptions via the Stripe Dashboard
This would mean the stripe_subscription_id key in our UserProfile would have to be set to an empty string. By setting up a webhook, we can define an endpoint in our django app that stripe will automatically POST to every time an important event occurs.
How to Set up Webhooks - Examples
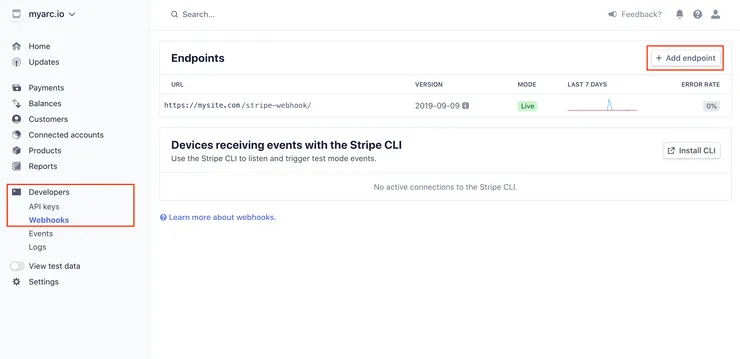
Add a new webhook for your website through the Stripe dashboard
Stripe has great documentation on how to set up webhooks - following this ensures you stick to best practice. What isn’t mentioned however, is which webhooks are worth setting up - so here’s an initial guide with examples to get you started.
# urls.py
from django.urls import path
from .views import create_customer, stripe_webhooks

urlpatterns = [
    path("create-customer/", create_customer, name="create_customer"),
    path("stripe-webhooks/", stripe_webhooks, name="stripe_webhooks"),
]
# views.py
from django.views.decorators.csrf import csrf_exempt
from .models import UserProfile
import stripe
import constants

# added for ease of reading - this should be a protected environment variable!
stripe.api_key = constants.STRIPE_API_KEY

@csrf_exempt # only for testing, you need proper auth in production
def stripe_webhooks(request):
  try:
    payload = request.body
    event = json.loads(payload)
  except ValueError as e:
    print("⚠️ Webhook error while parsing basic request." + str(e))
    return JsonResponse({"success": True}, status=400)

  # Handling a subscription being cancelled on the dashboard
  if event and event["type"] == "customer.subscription.deleted":
      print("customer.subscription.deleted") # log event
      subscription_id = event.data.object.id
      try:
          # Retrieve UserProfile instance with said subscription id
          req_userprofile = UserProfile.objects.get(stripe_subscription_id=subscription_id)
      except:
          # No subscription with that id saved in our database
          req_userprofile = None

      if req_userprofile:
          # Remove the subscription id from the database
          req_userprofile.stripe_subscription_id = ""
          req_userprofile.save()
This is just one example in code. Here are a few more useful events you may want to sync with your Django database:
- customer.subscription.created
- customer.subscription.updated
- product.created
- product.updated
- product.deleted
- price.created
- price.updated
- price.deleted
- customer.created
- customer.updated
- customer.deleted
You can get a full list of events here - but it’s not necessary to set up a webhook outcome for every single event. The provided events in this list should capture all the actions that a site admin would do on your Stripe Dashboard, and as long as you’ve set up your webhooks for this, you can be safe that your Django database mirrors the information on your Stripe Dashboard.
Good Luck!
(Cover photo by Marc-Olivier Jodoin on Unsplash)