How real developers use a CMS to build a showcase website with Netlify, Nuxtjs, and Contentful
Jérémie Chauvel13 min read

Why build a CMS driven showcase website?
Here you are, you just started a project to build the latest shiny showcase website for your client. Now comes the difficult part: you want to offer your client the best bang for his bucks, not wanting to redo part of the website each time the content changes. In the same way, you are probably not in charge of coming up with the shiny design but coding it, why would you lose time adjusting wordings, coming up with translations?
That’s where a Content Management system (CMS) becomes handy, giving your client an interface to edit the content of his site without wasting its precious developers’ time. Now you might be thinking ‘A CMS, last time I gave a go-to WordPress, I wasn’t convinced !’ and I agree with you. Today CMS fall into 2 usages:
- A what you see is what you get, that generates a website: WordPress, Drupal are some examples
- headless CMS which are a back-end only content management system built as a content repository that makes content accessible via a RESTful API: WordPress, Drupal are part of the game here as well, but we will use in this tutorial a concurrent specialized for this usage: Contentful to convince you that working with a CMS can be enjoyable.
Why use a server-rendered static website for a showcase website?
Doing so leverages the advantages of using a progressive web application with server-side rendering (more about SSR here) without the cost of running a server since you just need to serve your files. Furthermore, we leverage the following advantages for a showcase website:
- SEO friendly
- Performance
- Monthly infrastructure cost
Why use Netlify & Nuxtjs
Netlify
Infrastructure wise our requirements are very small, we only need a CDN to distribute our site. We could use any major cloud provider directly, however, I decided to go with Netlify service for the following reasons:
- The integration is exceptional: creating a CI that builds and deploys your website in production has never been easier.
- Https works out of the box as long as you have your own domain.
- Netlify service is built on top of AWS which means we don’t have to worry about reliability.
Nuxtjs
Nuxtjs is a server-side rendering framework built on top of Vuejs. For our case, Nuxtjs allows for dead easy creation of a server-side rendered static website.
Building a CMS driven showcase website
![]()
Creating a Contentful CMS
First, as the website is content-driven, we will start by creating the CMS using Contentful to provide content to the website.
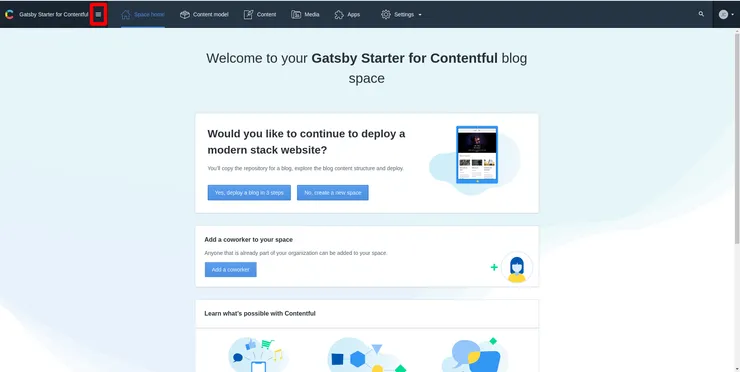
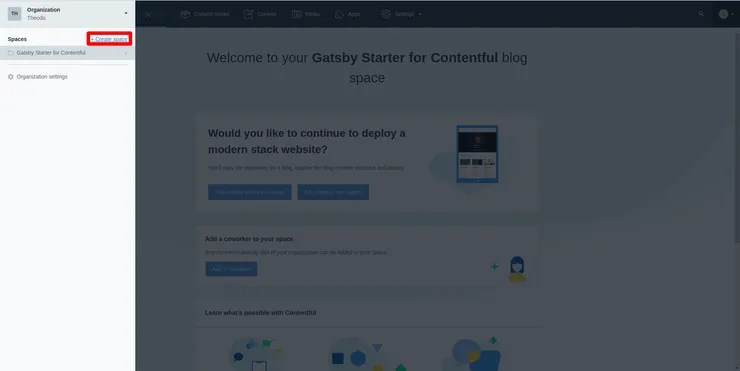
Start by creating an account on https://www.contentful.com/sign-up/ (use free trial for this tutorial) Once you sign up, you can create a new space (which is Contentful way of creating a project)
In the popup dialog set the type of space (you can upgrade later), the space name (the project name):
- Space type:
free - Space details:
data_driven_static,empty space
You have successfully created a new contentful project 🎉
Creating the first content
Contentful is organized between:
Content Modelswhich is where you define the structure of the contentContentwhich is where you can contribute (create content)Settingswhere you will find some useful settings later on.
Create the content model
To create our first content we will use the Content model tab, click on add content type
When creating a new content type, we have to fill in some important information:
- The Name of the content type, which is the displayed name for the content type: we will use Section.
- The API Identifier is the name of the entity when querying the Contentful API. In most cases it’s better to keep the given API Identifier, to stick as close as possible to the content type name to ease identifying the content types in the code.
- Lastly, I recommend filling in the description of the content type, I will use: Basic block of content for a page.
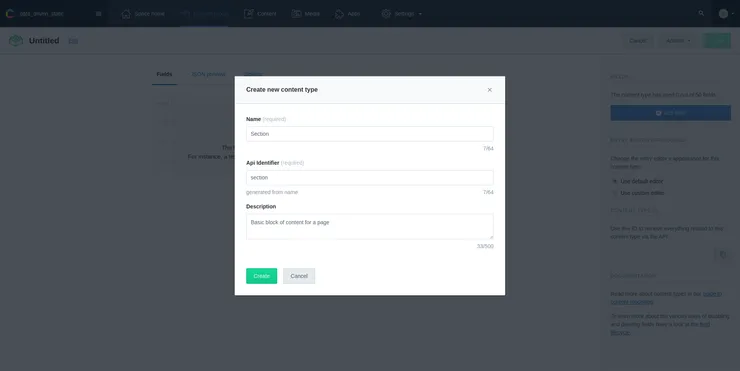
Finally, confirm to create the new content type.
Now, we have a new empty content type. To fill it, we will add some fields:
- A Title for the section
- A Text for a paragraph
To do so, first, click on add field:
- For the type of the field, select: Text
- For the settings of the Text field:
- Name: Title
- Short text
- Click create and configure
- Then in settings:
- Select: This field represents the Entry title
- Switch to validation:
- Make it required
- Finally switch to the Appearance tab:
- Leave it as a single line
- Enter a Help text: The section title
- Click Save
You successfully created the first field, we will create a second one for the paragraph:
- Click add field
- In creating:
- Select type Text
- Name: Paragraph
- Long text
- In Appearance
- Select Multiple lines
- Click create and configure
- Click Save
Once you created both fields, you can now hit save on the top right corner of the content type as we finished creating our content type.
Contribute the first section
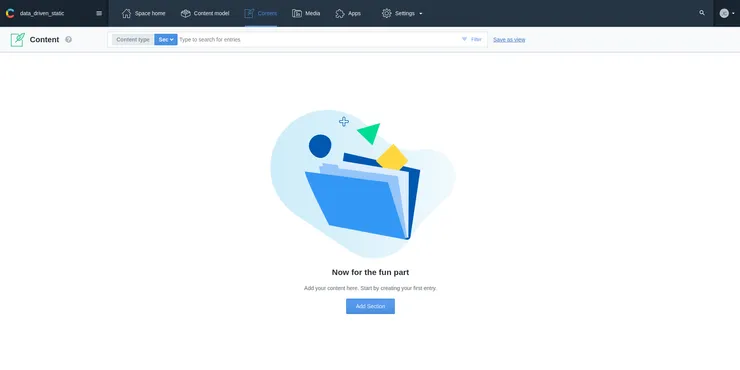
As we now have the first content type, we can contribute to creating new content. To do so, in the main contentful header, head to the tab Content.
By default contentful filter with the current content type, we can create a new section hitting the button Add Section
You end up on the form to edit the entity. You need to provide a title and you can provide some text for the paragraph. Then hit publish.
You are done for the CMS part (keep it open for latter).

Installing Nuxtjs
First, we are going to create a Nuxt application.
To do so, you need to have Npm installed and type in:
npx create-nuxt-app <project-name>.
Once you launch the command, you will need to answer a few questions:
- Project name: cms_driven_static
- Project description: /
- Author: /
- Package manager: / (I will use Npm)
- UI framework: you can use any of them as you like (I will not use one here)
- Custom Server framework: None
- Nuxt.js modules: Axios, Dotenv
- Linting tool: as you like, I go with and recommend all of them (ESLint, Prettier, Lint staged files, Stylelint needs some configuration hence I will not use it here)
- Test framework: I will not talk about tests here, but it’s obviously recommended to use tests (both Jest and AVA are great)
- Rendering mode: Universal (SSR)
- Dev tools: use jsconfig.json, if using vscode as your IDE
You can run the Nuxt dev server using:
cd cms_driven_static
npm run dev
You are done installing Nuxtjs 🎉
Fetch the section content in Nuxtjs
We will now display the Section content in the Nuxt frontend.
To do so, we need to install the contentful module: npm install contentful --save.
Then to use the contentful package in Nuxt, we will create a plugin. Plugins are the recommended way to use javascript libraries globally.
Finally, we will use this plugin to fetch content in the application pages.
Creating the Nuxt.js plugin
In the plugins directory of the project create a new file: contentful.js
Add the following code in the file:
// First we import the contentful node module
const contentful = require('contentful')

// Those are set via `env` property in nuxt.config.js or environment variables
const config = {
  space: process.env.NUXT_ENV_CONTENTFUL_SPACE,
  accessToken: process.env.NUXT_ENV_CONTENTFUL_ACCESS_TOKEN,
}

// Create a client to setup fetching content
const client = contentful.createClient(config)

// Our first method to fetch all section content type
client.getSectionContent = () =>
  client.getEntries('', {
    content_type: 'section',
  })

export default ({ app }) => {
  // Add the function directly to the context.app object
  app.contentfulClient = client
}
Now we will register the plugin in our Nuxt config, head to the file nuxt.config.js. In this file you will find an empty plugins array. Add { src: '~/plugins/contentful' }, in this array:
-  plugins: [],
+  plugins: [{ src: '~/plugins/contentful' }],
That’s all for the plugin configuration. 🚀
Finally, we need to specify the contentful credentials, to do so, we will use the dotenv module:
- In
nuxt.config.jsadd'@nuxtjs/dotenv'in thebuildModulesarray:
  buildModules: [
    '@nuxtjs/eslint-module',
+   '@nuxtjs/dotenv'
  ],
- Then in your
.envfile, you need to add two variables:NUXT_ENV_CONTENTFUL_SPACEandNUXT_ENV_CONTENTFUL_ACCESS_TOKEN:
Using the prefix NUXT_ENV_ enables Nuxtjs automatic injection of environment variables into process.env.
To fill in those values go back to contentful. Go to the settings tab and find ‘api keys’. If one already exists, use it, else create a new one. (specify any name and description)
Use both Space ID and Content Delivery API - access token to fill in your .env variables.
Restart your server (interrupt and npm run dev), the webpage should load errors free.
You should be set to fetch your content on your Nuxtjs page.
Display the section content
Let’s make this API call and display the section content.
Head to the file pages/index.vue. It’s the entry-point of your nuxtjs application, namely the landing page.
A brief introduction to Vuejs single file component syntax
A single file Vue.js component is organized in 3 parts:
<template>
  <p class="paragraph">{{ greetings }} World!</p>
</template>

<script>
  module.exports = {
    data() {
      return {
        greetings: 'Hello',
      }
    },
  }
</script>

<style scoped>
  .paragraph {
    font-size: 2em;
    text-align: center;
  }
</style>
- The template part which is the rendered HTML for the component
- The script part which contains the component logic
- The style part which is, no surprise, the CSS style applied to the component.
Fetching the section content
First, we are going to fetch the section data and we want to fetch it server-side to be able to render the full HTML before sending it to the client.
To do so add an asyncData method below the component in the script HTML element, ending with the export looking like this:
export default {
  components: {
    Logo,
  },
  async asyncData(context) {
    const sections = await context.app.contentfulClient.getSectionContent()
    console.log(sections.items)

    return {}
  },
}
Reload your page http://localhost:3000/, you should see your Section item in the console.
Then we will add some logic to the contentful plugin to map the interesting properties for the landing page Vuejs component:
// First we import the contentful node module
const contentful = require('contentful')

// Those are set via `env` property in nuxt.config.js or environment variables
const config = {
  space: process.env.NUXT_ENV_CONTENTFUL_SPACE,
  accessToken: process.env.NUXT_ENV_CONTENTFUL_ACCESS_TOKEN,
}

// Create a client to setup fetching content
const client = contentful.createClient(config)

// Our first method to fetch all section content type
client.getSectionContent = () =>
  client
    .getEntries('', {
      content_type: 'section',
    }) // map the interesting properties from section
    .then(({ items }) => {
      return items.map((section) => {
        return {
          title: section.fields.title,
          paragraph: section.fields.paragraph,
        }
      })
    })

export default ({ app }) => {
  // Add the function directly to the context.app object
  app.contentfulClient = client
}
And use it in the asyncData of pages/index.vue:
 async asyncData(context) {
    const sections = await context.app.contentfulClient.getSectionContent()
    console.log(sections)

    return {}
  }
Display the section
Finally let’s display our data, first make the sections available in the state of the component:
async asyncData(context) {
  return {
    sections: await context.app.contentfulClient.getSectionContent(),
    }
}
Update the template to use the new data from the asyncData:
<template>
  <div class="container">
    <div class="logo-container">
      <logo />
    </div>
    <div v-for="section in sections" :key="section.title" class="section">
      <h1 class="title">{{ section.title }}</h1>
      <h2 class="subtitle">{{ section.paragraph }}</h2>
    </div>
  </div>
</template>
Update the style of the component:
<style scoped>
  .container {
    margin: 0 auto;
    min-height: 100vh;
    display: flex;
    flex-direction: column;
    justify-content: center;
    align-items: center;
    text-align: center;
  }

  .logo-container {
    height: 50%;
    width: auto;
  }

  .section {
    margin-top: 20px;
  }

  .title {
    font-family:
      'Quicksand',
      'Source Sans Pro',
      -apple-system,
      BlinkMacSystemFont,
      'Segoe UI',
      Roboto,
      'Helvetica Neue',
      Arial,
      sans-serif;
    display: block;
    font-weight: 300;
    font-size: 60px;
    color: #35495e;
    letter-spacing: 1px;
  }

  .subtitle {
    font-weight: 300;
    font-size: 21px;
    color: #526488;
    word-spacing: 5px;
    padding-bottom: 15px;
  }
</style>
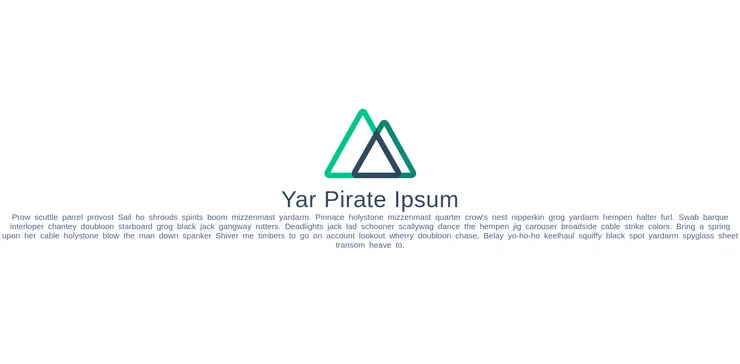
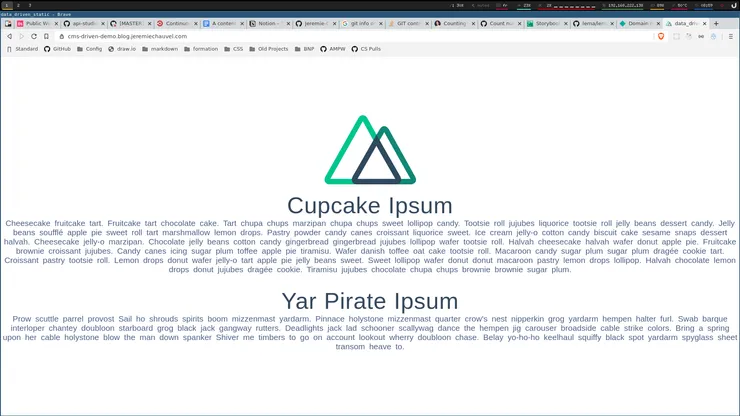
Then reload your homepage, you will be able to see your new section content:
Congratulations 🎉
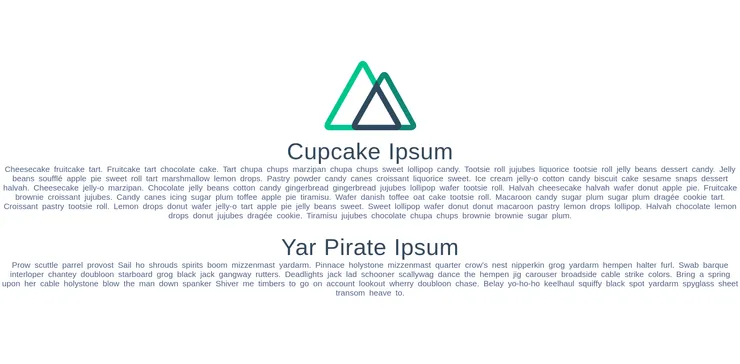
Let’s add one more section content in Contentful to check that our page works correctly.
Once you add the new section content and publish it you should see both sections on your homepage:
![]()
Deploy the website using Netlify
Setting-up automatic deployment
Finally, we will deploy the website, making it available on the Internet.
First of all, create a repository for the project on Github or Gitlab and push your project.
Once you are there, you can head to Netlify website: https://www.netlify.com/, create an account using your favorite authentication: https://app.netlify.com/signup
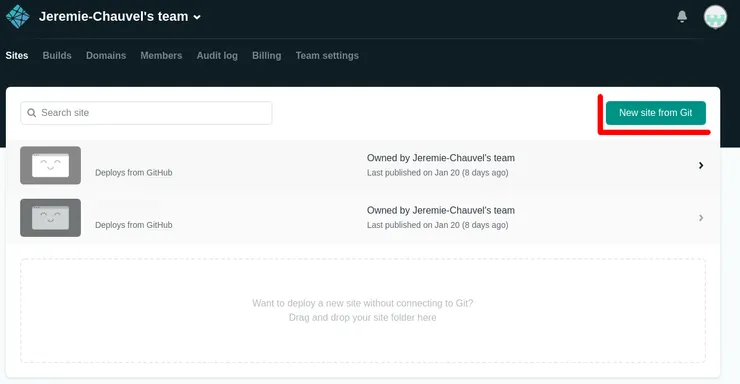
Once on the project page, I recommend using ‘New site from Git’ to setup up a static website deployment with the added benefit of an out of the box working CI, building your site with every new commit on your production branch.
Select your repository:
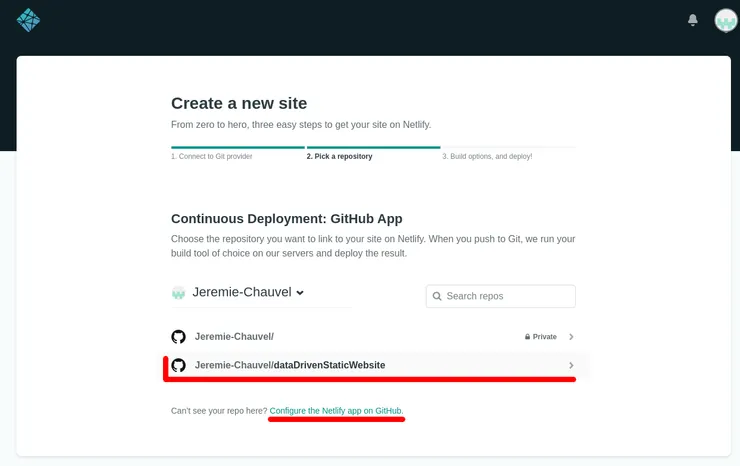 If it doesn’t appear in the list click on Configure the Netlify app on Github
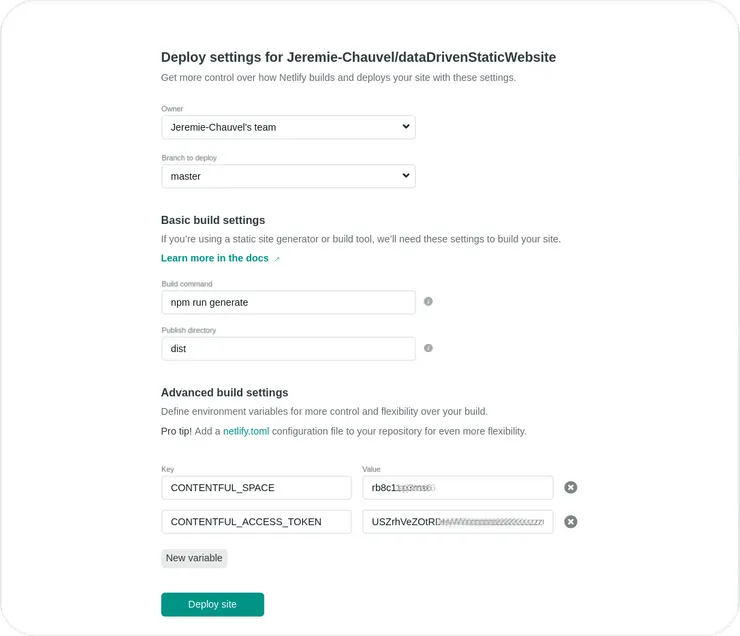
For your site settings, go for:
- Base directory: not set -> useful if you use a mono repository to set the directory where you can build the front
- Build command:
npm run generate - Public directory:
dist - Click show advanced to add environment variables matching the ones defined in .env:
NUXT_ENV_CONTENTFUL_SPACENUXT_ENV_CONTENTFUL_ACCESS_TOKEN
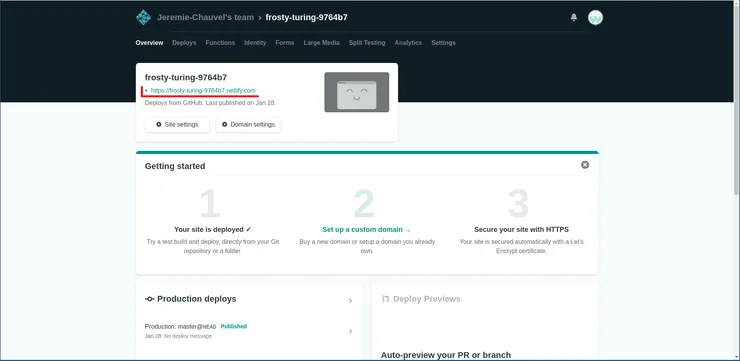
Your site is now online! 🎉
You can find the Netlify generated URL (ending in .netlify.com) on the Netlify project overview.
Using your own domain name
Here again, Netlify eases the process, you simply need to have a domain name registered.
Once you have a domain name, you can carry on the settings:
- Click on Set up a custom domain
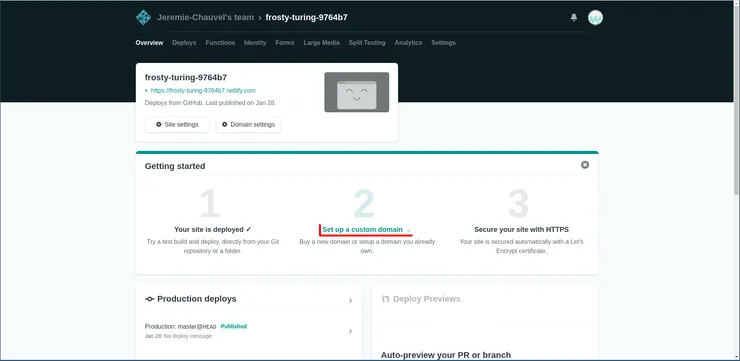
- In custom domain, click Add a domain alias and fill in the input with your domain name
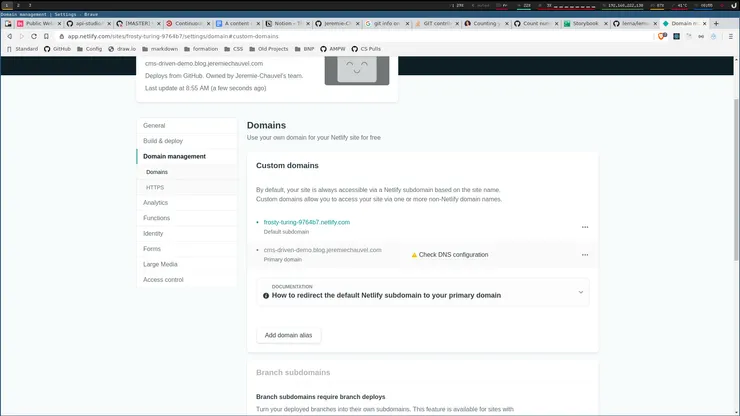
- Then you will need to point your domain to netlify servers, to do so, use the provided CNAME record in your DNS provider interface
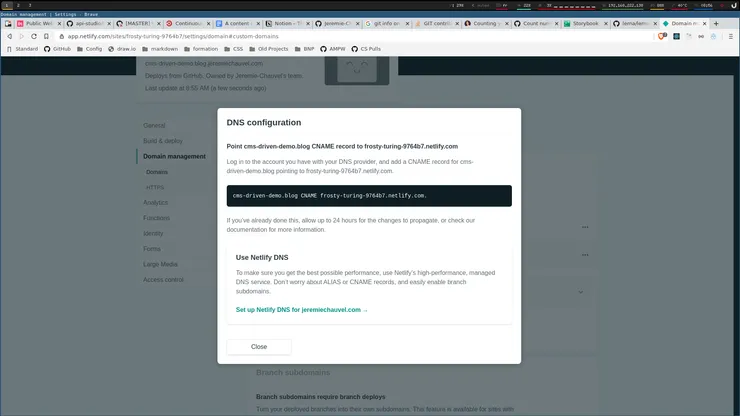
- After a few minutes to hours depending on your DNS provider, you should be able to access the website using your domain name. 🎉
Using TLS (HTTPS)
Once you can access the website using your domain, you will want to use https for security, SEO and performance purposes, you can and should use netlify https functionality:
Head to https in domain settings of your website:
- Then click on Provision certificate
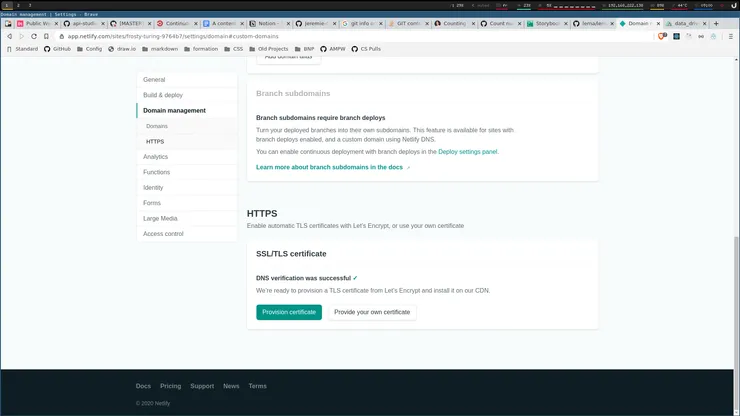
- You will need to wait for the DNS update to enjoy your site in https
Deploy on content change
One last interesting feature is the ability to rebuild the website when content changes. As of now, if we add a new section on contentful, it’s not reflected on the website. Let’s change that so that any modification on the site triggers a rebuild of the website:
- First head to the deployment settings in netlify, scrolling to build hooks
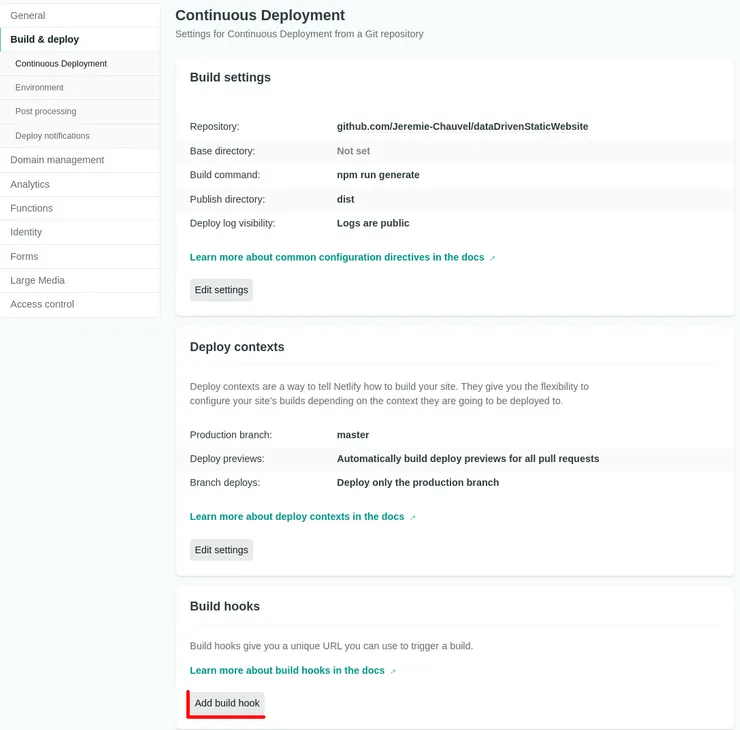
- Clicking
Add build hook, configure the name of your hook and the deployed branch: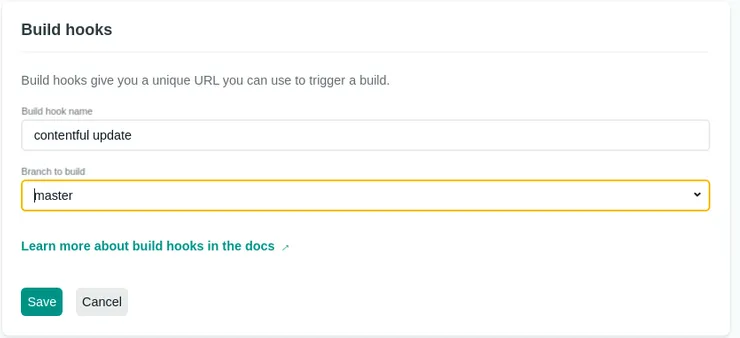
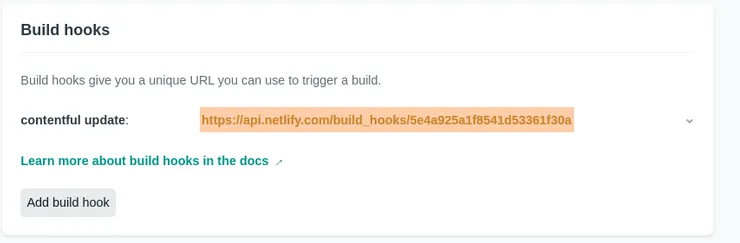
- Once saved, you need to copy the URL that you need to use to trigger the build:
- Then go back to Contentful, going to webhooks in settings:
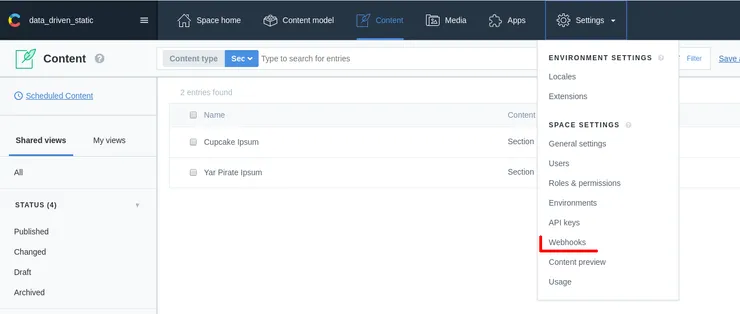
- Click:
Add a new hook - Name the hook as you like, then paste the netlify hook URL in the URL field:
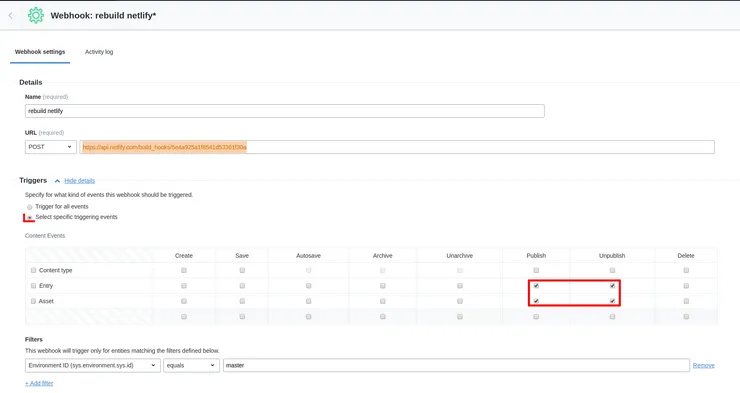
- Then you can either trigger the build for all event but I recommend limiting the hook to publish/unpublish actions to avoid useless builds.
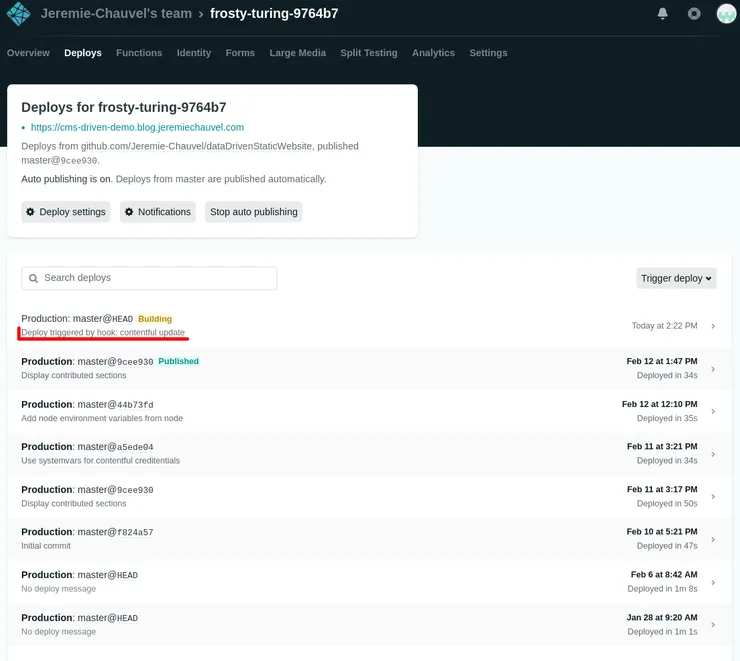
- Once the hook is saved, creating a new section will trigger a build on netlify:
Wrap-up words
Building a showcase website is mostly about content, presenting the products, services, the company goal/mindset. In this regard, using a CMS is the best way to enable your client to update their contents, keeping them happy 🎉
This article, was a simple introduction, to the currently available technologies enabling developers to build such a site. There are much more great features enabled by those tools, namely:
- Working with images, videos, …
- Using different translations for contents
- Workings with formatted texts without allowing contributors to inject html in the website
Thank you for getting this far and happy coding!