Set up file uploads to S3 via Django in 10 minutes
David Bruton6 min read

I’m going to show you how to correctly configure your Django project to allow you to upload files safely and securely to an AWS S3 bucket. This is a great way of handling files in Django and as you will see in this guide, is quick and easy to set up.
Setting up a simple Django App
This can be skipped if you already have a project Django has a quick guide to set up a Django project here which I’ve followed to quickly set up a demo app.
Adding a photo model
Once you’ve done the basic set up in the tutorial, you can create a “Photos” model to start testing your uploads. I’ve included the photo model class I’ve used for this below so you can add the following directly into your models.py file:
from django.db import models
import uuid

class Photo(models.Model):
    uuid = models.UUIDField(
        primary_key=True, default=uuid.uuid4, editable=False,
    )
    created_at = models.DateTimeField(auto_now_add=True)
    title = models.CharField(max_length=100)
    photo = models.FileField()
This is just a simple Django model which can be used to store photos. The model has a Django File Field for the photo file itself as well as a title, a created at datetime field and an UUID field.
The Django admin allows file uploads using the File field on a model which means we can use this built in functionality without having to spend time setting up forms to test our uploads.
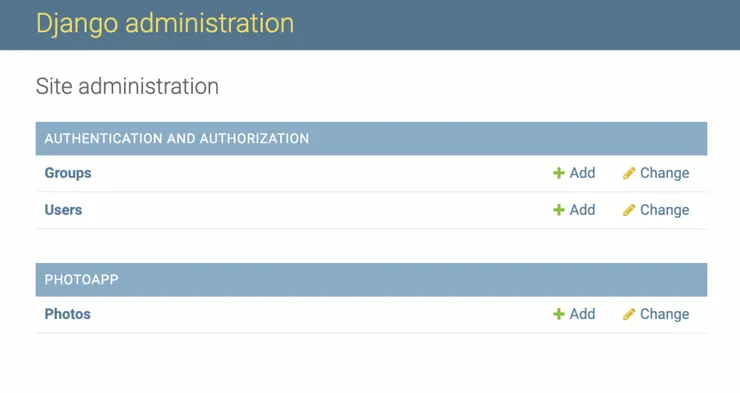
Testing default behaviour of file uploads
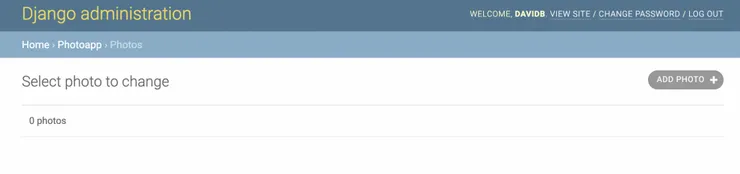
First we need to go to the admin site for your project and find the photos model you have defined. Make sure you have registered your model in your admin.py so that you have access to it here.
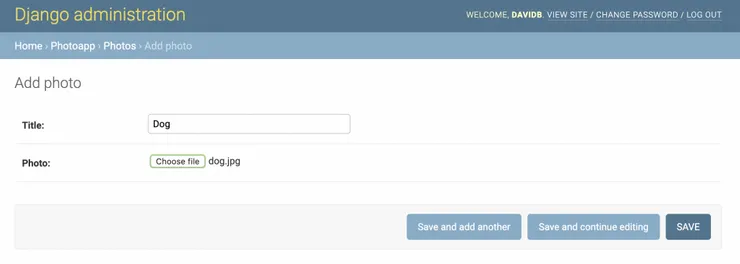
Click on “Add photo” and you will be able to give your photo object a title and choose the file we want to upload as shown below. Once you’ve done this, click Save.
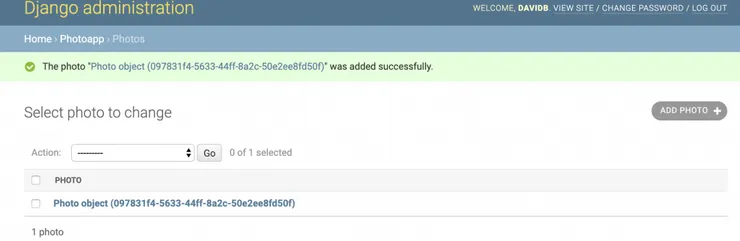
If we do this, we see that the file is uploaded to the root directory of the app.
This is rarely where we want to store uploaded files, but this can be easily modified using the MEDIA_ROOT property in the settings file of your app. This defines the path at which media file uploads will be stored.
To demonstrate this we can set this value to a path within the app using the BASE_DIR which is defined automatically when generating the project with django. If you add the folowing line to your settings.pythis will store your uploads inside the project folder at the file path specified in quotes.
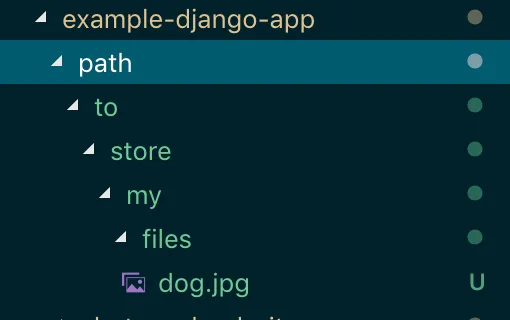
MEDIA_ROOT = os.path.join(BASE_DIR, 'path/to/store/my/files/')
If you now try and upload a file using the admin, we see in the root directory of my app example-django-app there is a new file path created to the photo uploaded.
However, this is still often not a sensible place to be storing uploaded files for many reasons. If your server is on AWS or another cloud service, the files will be lost when scaling and creating new server instances as they are stored directly on a server instance’s file system. This is a major problem.
Furthermore, they are not going to be easily accessible when trying to retrieve them as they are directly saved on the server, especially if you need the files to be easily accessible externally (e.g. to allow controlled access to other users or websites).
We need a better solution for storing these files somewhere which can easily be accessed to retrieve uploaded files for those with permission, is scalable for handling large numbers of uploads on your Django app and will keep files stored safely even if your server is scaling up or down.
AWS S3 Buckets
Amazon’s “Simple Storage Service” (S3), offers a secure, reliable and scalable storage system which is perfect for this use. It is simple to set up and can be used regardless of where your Django site is being hosted.
Setting up an S3 bucket and allowing the Django app access
You can create an S3 bucket easily by logging into your AWS account, going to the S3 section of the AWS console, clicking “Create bucket” and following the steps to set up. You will also need to create a user with Programmatic access to your AWS account in the “IAM” console and give it permissions for S3FullAccess for your app to be able to correctly access your bucket. AWS provide this useful walkthrough to help set this up
Once you have done this you need to set the access key and secret access key generated when you created the user in your settings.pyfile like shown below.
AWS_ACCESS_KEY_ID = 'YOUR_ACCESS_KEY_HERE'
AWS_SECRET_ACCESS_KEY = 'YOUR_SECRET_ACCESS_KEY_HERE'
Also make sure you remove the MEDIA_ROOT property in the settings file.
For your production environment, it’s best to get these values from environment variables rather than hardcoding them in your settings file.
Installing some helper libraries
We’re nearly ready to start using the S3 bucket for uploads, we just need to install 2 python libraries: boto3 and django-storages. Boto3 is the SDK that AWS provide for Python to be able to manage AWS services from within your code. We need to use it to specify the S3 bucket which your file uploads need to be directed to (you can look at the boto3 documentation here).
Django-storages is a useful library which provides storage helper methods (you can read the documentation for it here). You will need to add 'storages' into your INSTALLED_APPS of settings file too.
To install the libraries, you can simply run:
pip install boto3
pip install django-storages
inside the virtual environment your app is running in and adding these libraries to your dependencies list.
Once you’ve done this, you need to define a few more variables in your settings file:
DEFAULT_FILE_STORAGE = 'storages.backends.s3boto3.S3Boto3Storage'
AWS_STORAGE_BUCKET_NAME = 'insert-your-bucket-name-here'
AWS_S3_REGION_NAME = 'eu-west-2'
When you created your S3 bucket you will have defined a name for the bucket as well as choosing an AWS region for it to be hosted in. Insert these here.
We should be ready now to upload files directly to S3 via the Django admin upload we tried earlier. If we try the uploads again we will see the files no longer appear in the root directory of our app but are stored in the S3 bucket we set up.
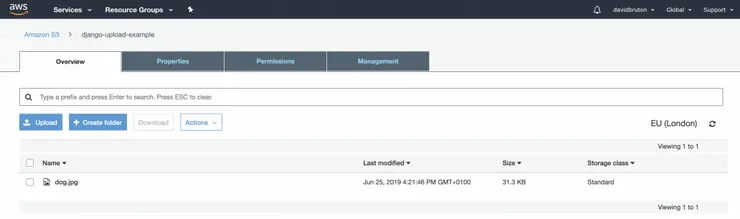
We are now able to retrieve these files in S3 in the AWS console or directly in the Django admin.
Conclusion
We have been able to set up file uploads from a very basic Django up quickly and easily. You should now be able to easily set this up on future Django projects to make your handling of file uploads hassle free.