Getting started with the Physical Web
Kévin Jean4 min read
Physical Web, what is that?
In 2016, there are 42 billion devices connected worldwide. Glasses, gates, clocks, padlocks, connected thermostats and many others are now part of our everyday environment. Today, the only way to access their functionality is to develop a specific application (mobile, web) for each single object. But this solution cannot scale to the amazing growth of connected devices.
The core premise of the Physical Web is to bring the power of the Internet and web to interactions in the physical world. With the Physical Web, people would be able to walk up to any smart device be it a movie poster, a vending machine, a bus stop, a billboard or any other physical object and receive relevant content straight on their smartphones.
How to create and broadcast a nodejs app
Prerequisites
- A computer with a Bluetooth 4.0 adapter
- A phone with a Bluetooth 4.0 adapter
- Google Chrome on your phone (for the moment that’s the only browser who supports the physical web)
To do so, let’s configure our phone to enable the physical web. For doing this, go in your Chrome browser, Settings > Privacy > Physical web > On. Here you are, your phone is ready for the physical web world.
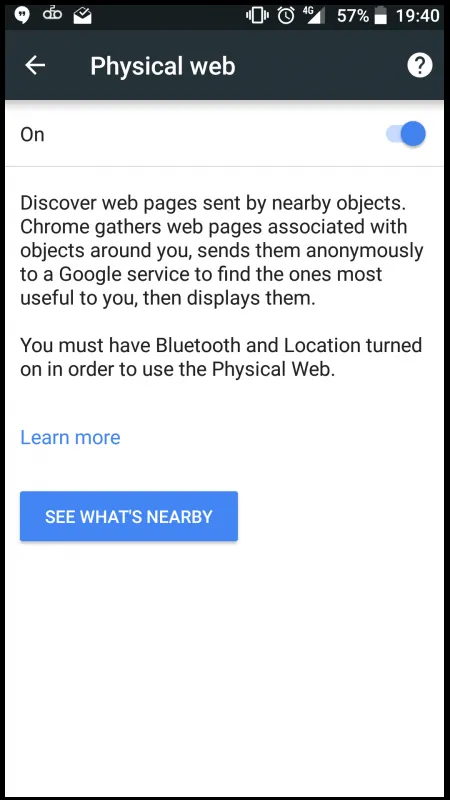
Keep this page in mind, we will need it later in this tutorial, in order to scan our physical environment.
First of all, let’s start by creating a simple app. We are going to use an express app generator like that we can create easily a good start.
sudo npm install express-generator -g
express MyBeacon
cd MyBeacon
npm install
We are ready to use our app:
npm start
If all has gone well so far, we should see our app on localhost:3000
Create a beacon
A beacon!? What is that? A beacon is an URL broadcaster that creates a link between our physical world and the Web. In order to do so, beacons take advantage of Bluetooth Low Energy (BLE). There are severals protocols based on BLE. In this tutorial we are going to use Eddystone, an open-source protocol which works with android and iOS.
There are some prerequisites to make the protocol work on our computer: https://github.com/sandeepmistry/bleno#prerequisites
Done? Good, let’s add a npm module to create node js beacon:
npm install eddystone-beacon
Let’s add those lines to our app.js to create the first github beacon. Add these lines to our app.js file to broadcast github url:
//app.js

var eddystoneBeacon = require('eddystone-beacon');

var options = {
    name: 'Beacon',    // set device name when advertising (Linux only)
    txPowerLevel: -22, // override TX Power Level, default value is -21,
    tlmCount: 2,       // 2 TLM frames
    tlmPeriod: 10      // every 10 advertisements
};

eddystoneBeacon.advertiseUrl('https://github.com/', [options]);
Start our app:
npm start
If all is going good, you should see an error message like this one:
bleno warning: adapter state unauthorized,
please run as root or with sudo
The issue is that our bleutooth adapter is only accessible by the system admin. Run the script with sudo right:
sudo npm start
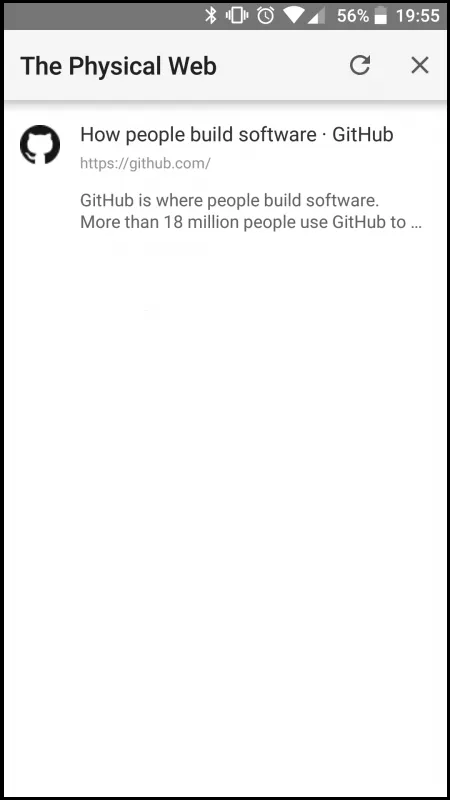
To see our beacon, go on our phone and start a physical web scan on the Google Chrome scanner (Settings > Privacy > physical web > See what’s nearby)
… and tadaaa.
Broadcast our local app
Let’s broadcast our local application URL. For security reasons,Chrome physical web scanner does not authorize non-HTTPS urls. We are going to use ngrok to expose our local application on an https server.
npm install ngrok
We will add the promise package, because we need to wait for ngrok https url creation before broadcasting it:
npm install promise
And now let’s launch ngrock on the app start:
//app.js

var ngrok = require('ngrok');
var Promise = require('promise');

new Promise(function(resolve, reject) {
    ngrok.connect(3000, function (err, url) {
        if (err) {
            console.log("## NGROK : Error gate");
            reject(err);
        }
        if (url) {
            console.log("## NGROK : Gate to port 3000 created");
            resolve(url);
        }
    });
})
.then(url => {
    console.log("## PROMISE : App available on " + url);
    eddystoneBeacon.advertiseUrl(url, [options]);
})
.catch(err => {
    console.log("## PROMISE : " + err);
})
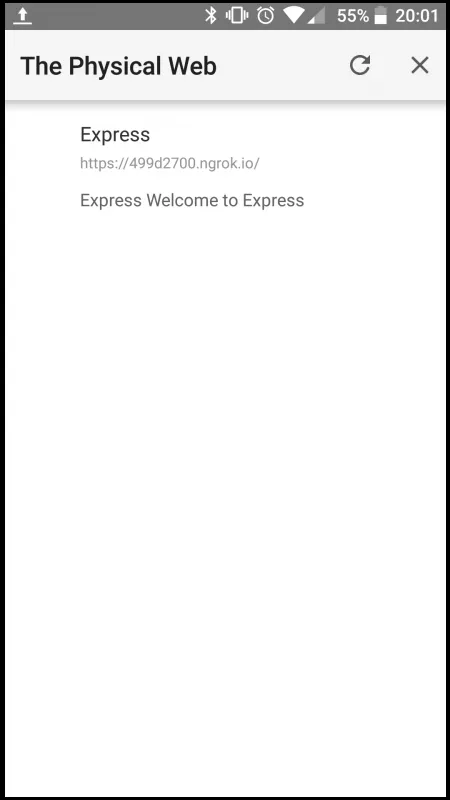
Now we can run our application and go to back to chrome to scan our environment … and it’s aaaaaaaaaalive!
Conclusion

Now, you know how to broadcast an application through bluetooth. In the next article, we will see how to optimize our website for physical web notifications and how to interact with the beacon using the web API bluetooth.